Installation Instructions
Compression Fittings Product Range

Last Updated

December 11, 2020

Flowflex reserve the right to alter the product ranges and specifications associated with its products without prior notice

Compression fittings are designed to mechanically form a joint between the fitting and the pipe. When tightening the nut, you are compressing the olive onto the tube, creating a permanent seal. Flowflex compression fittings are manufactured in the UK to the BS EN 1254-2:1998 Standard.

Applications

  • Domestic
  • Commercial
  • Industrial
  • Hot and cold water services
  • Heating installations
  • Fuel services
  • Low pressure gas pipework in domestic premises

Preliminaries

Tube Specification

Ensure the tube conforms to the specification, and that the tube outer diameter matches the size of the fitting. Ensure that both the tube and fitting are clean, in good condition and free from any damage or imperfections.

Flowflex fittings are designed to connect BS EN 1057 tube, for water and gas in sanitary and heating applications.

Equipment

Materials
  • Copper Pipe
  • Compression Fitting
Tools
  • Adjustable Spanner
  • Pipe Cutting Tool
  • Internal & External Pipe Deburring Tool

Installation

Cut Your Pipe to Size

Cut Your Pipe to Size

Cut your pipe cleanly across the tube diameter.

It is important your pipe accurately. Failure to do so could impact on the quality of your jointing. If your cut is not flat, or your pipe is too short, the pipe may not hit the pipe stop compromising the joint integrity. Too long and you may introduce strain into the whole system.
For Carbon, Stainless Steel and Chrome Plated Pipe, ensure no flats or score marks are visible on the outside surface of the tube. The weld bead should also not be visible.

Clean The Socket of the Pipe

Clean The Socket of the Pipe

Using your deburring tool, make sure the inside of the pipe is smooth and will not interfere with the flow.

Take care to ensure the tube is not deformed by applying too much pressure. If you need to be more delicate, use of a stiff wire brush is recommended to reach the desired outcome.

It is important that the inside of the pipe is smooth and doesn’t interfere with the flow. In the case that flow local to the joint is affected, erosion and corrosion may occur and also vibrations.

Clean The Outside of the Pipe

Clean The Outside of the Pipe

Clean the outside of the pipe, making sure that there is no pipe residue, dirt or grit is present near the joint.

Assembly the Fitting Around the Tube

Assembly the Fitting Around the Tube

Remove the compression nut and compression olive, then put the nut on the tube, followed by the olive. Insert the tube end up to the fitting's tube stop. Slide the olive and the nut down to the fitting body. Tighten the nut using your fingers to secure the fitting in place.

MDPE and PEX pipe require a pipe support liner, which should be pushed fully into the bore of the pipe. In the case that the pipe support liner is difficult to insert, you can make a small chamfer with a sharp knife.

Tighten the Nuts

Tighten the Nuts

Tighten the nut further using open ended or adjustable spanners, using the spanner flats incorporated into the fitting body and nut. The second spanner must be used to prevent the fitting rotating as the nut is tightened.

A few drops of light oil can be used on the threads to assist the turning. This can be especially helpful on sizes 35mm and above. When jointing stainless steel or annealed (R220) copper tube some variation may be needed – the nut may be tightened further if necessary.

Do not overtighten the nuts. Over-tightening can be detrimental to both the nut and the olive, weakening the joint and causing issues later when servicing. Please see our technical pages for guidance on this.

Other Considerations

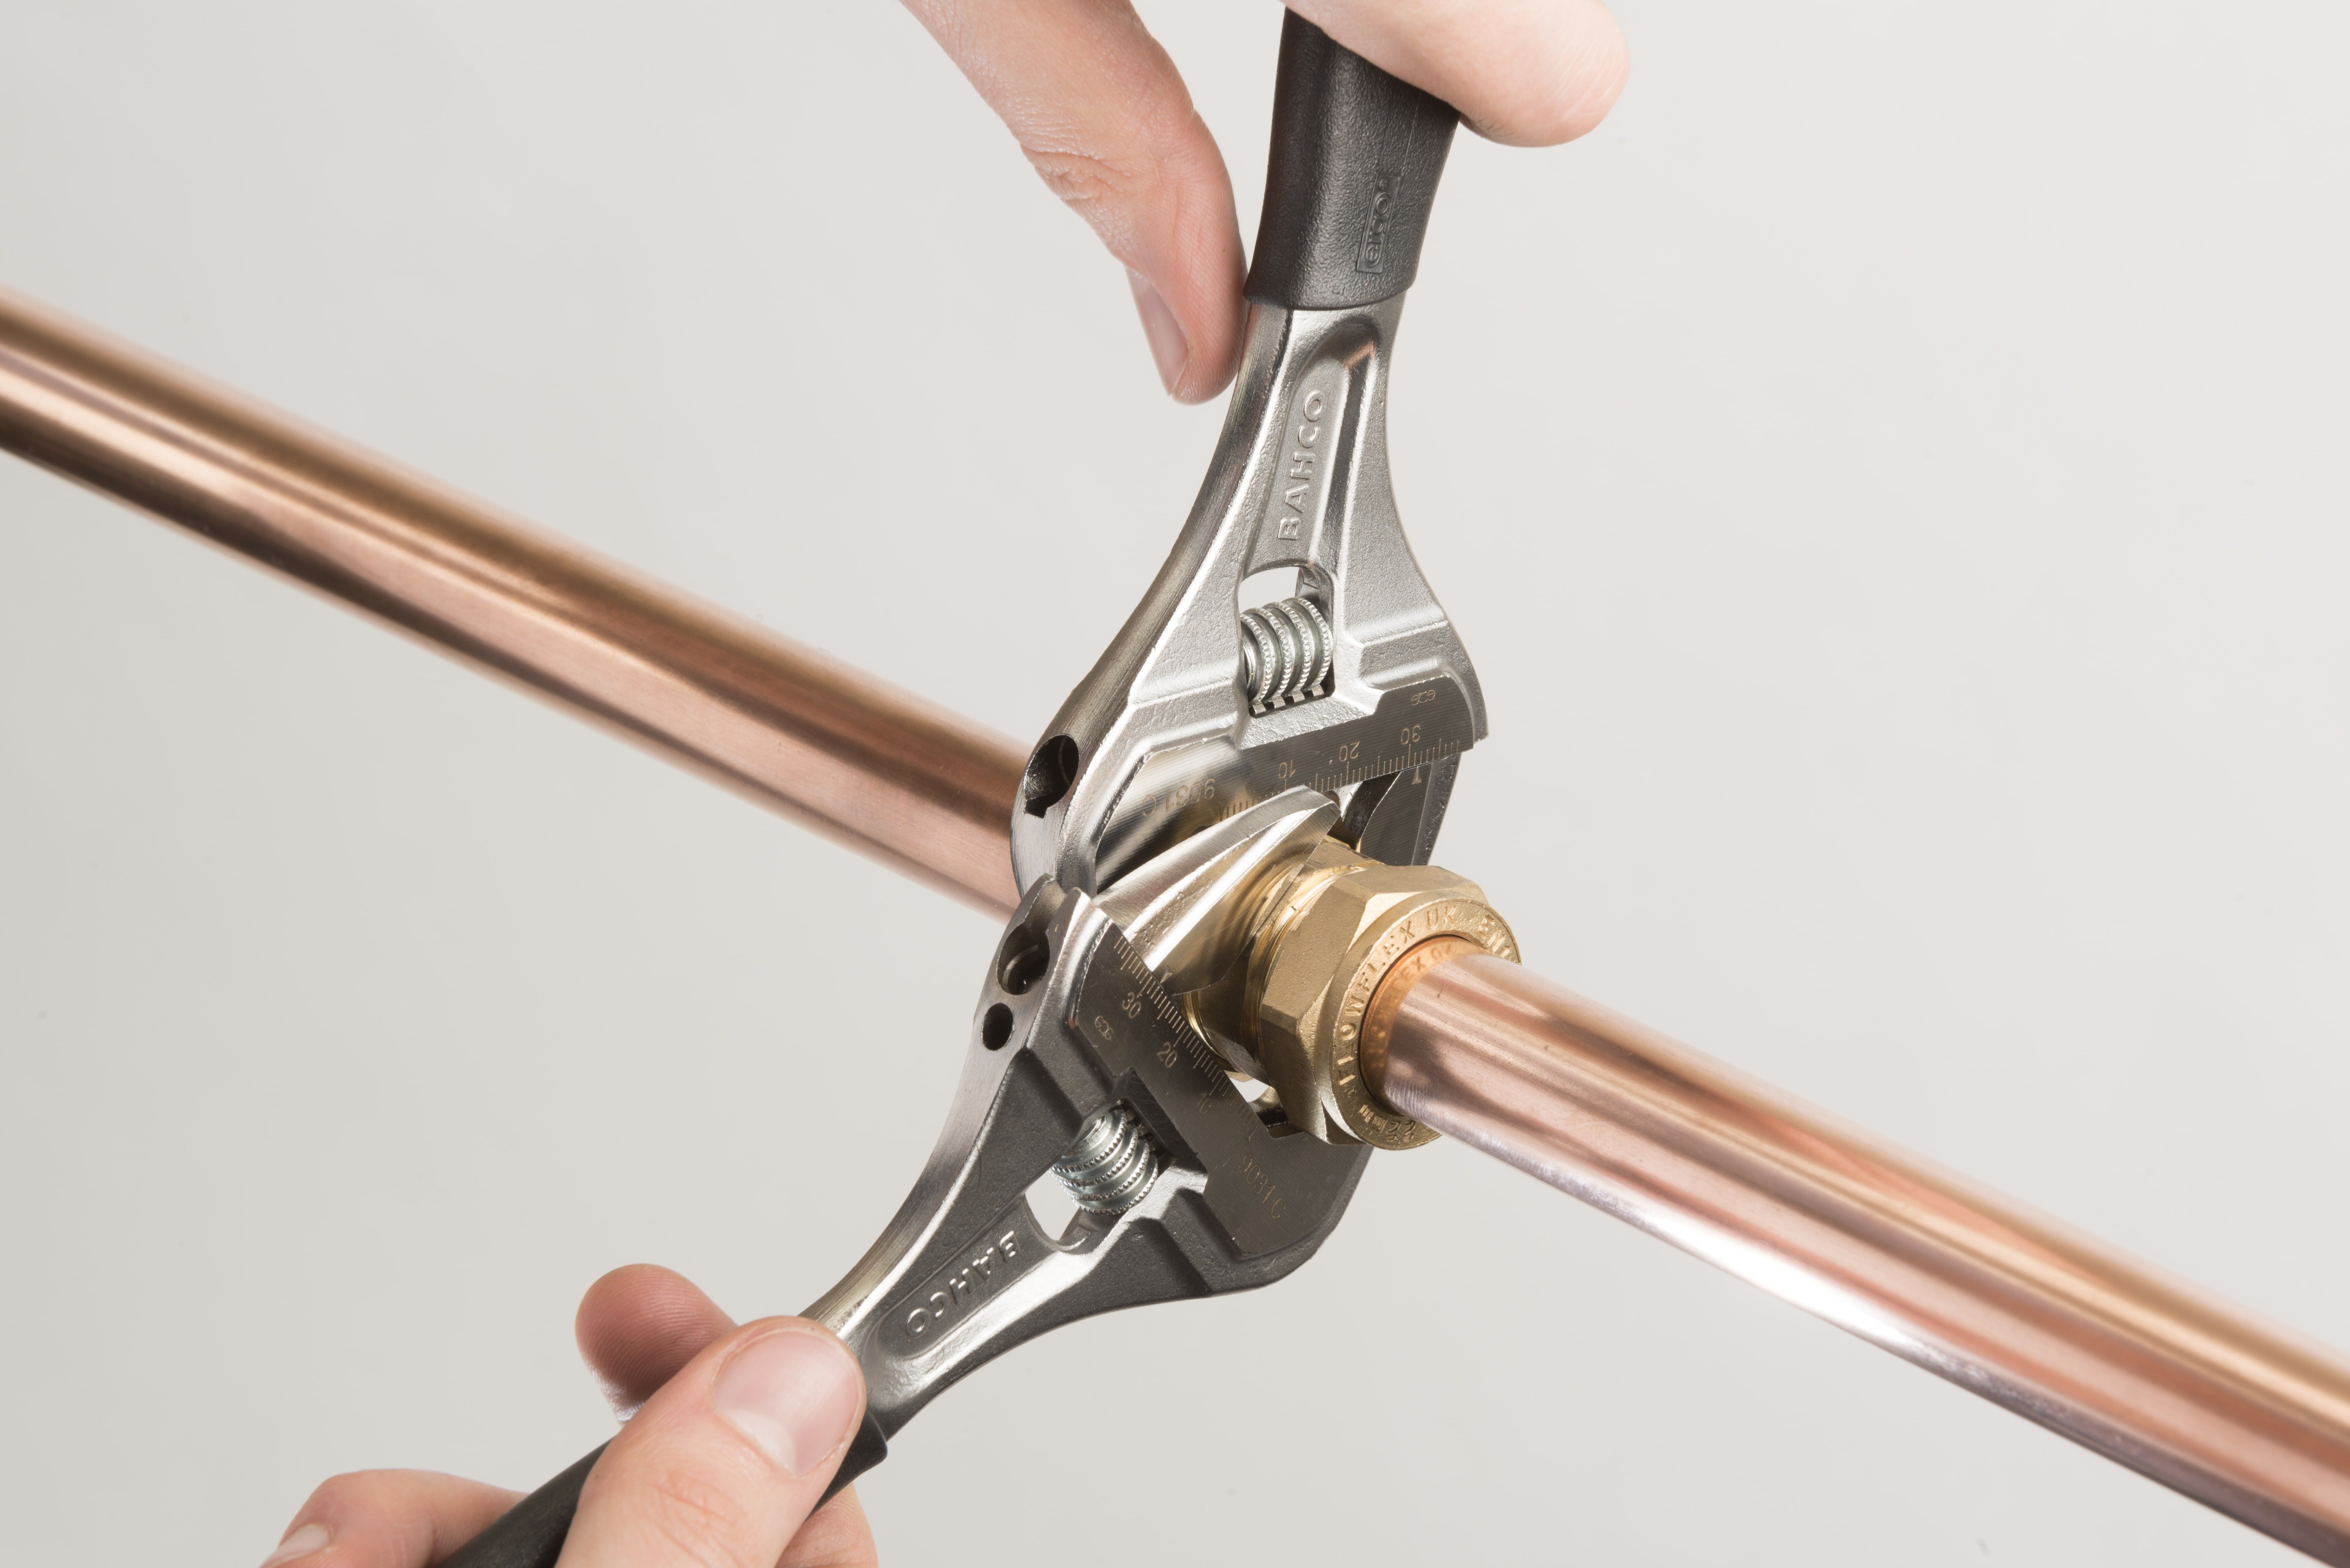
Tightening Compression Fittings Guidance

Turns
Size Turns
< 28mm 1 1/4 Turns
> 28mm 3/4 Turns
Torque Settings
Size Torque
15mm 30 - 35 Nm
22mm 45 - 50 Nm
28mm 55 - 60 Nm
35mm 105 - 110 Nm
42mm 150 - 155 Nm
54mm 240 - 245 Nm
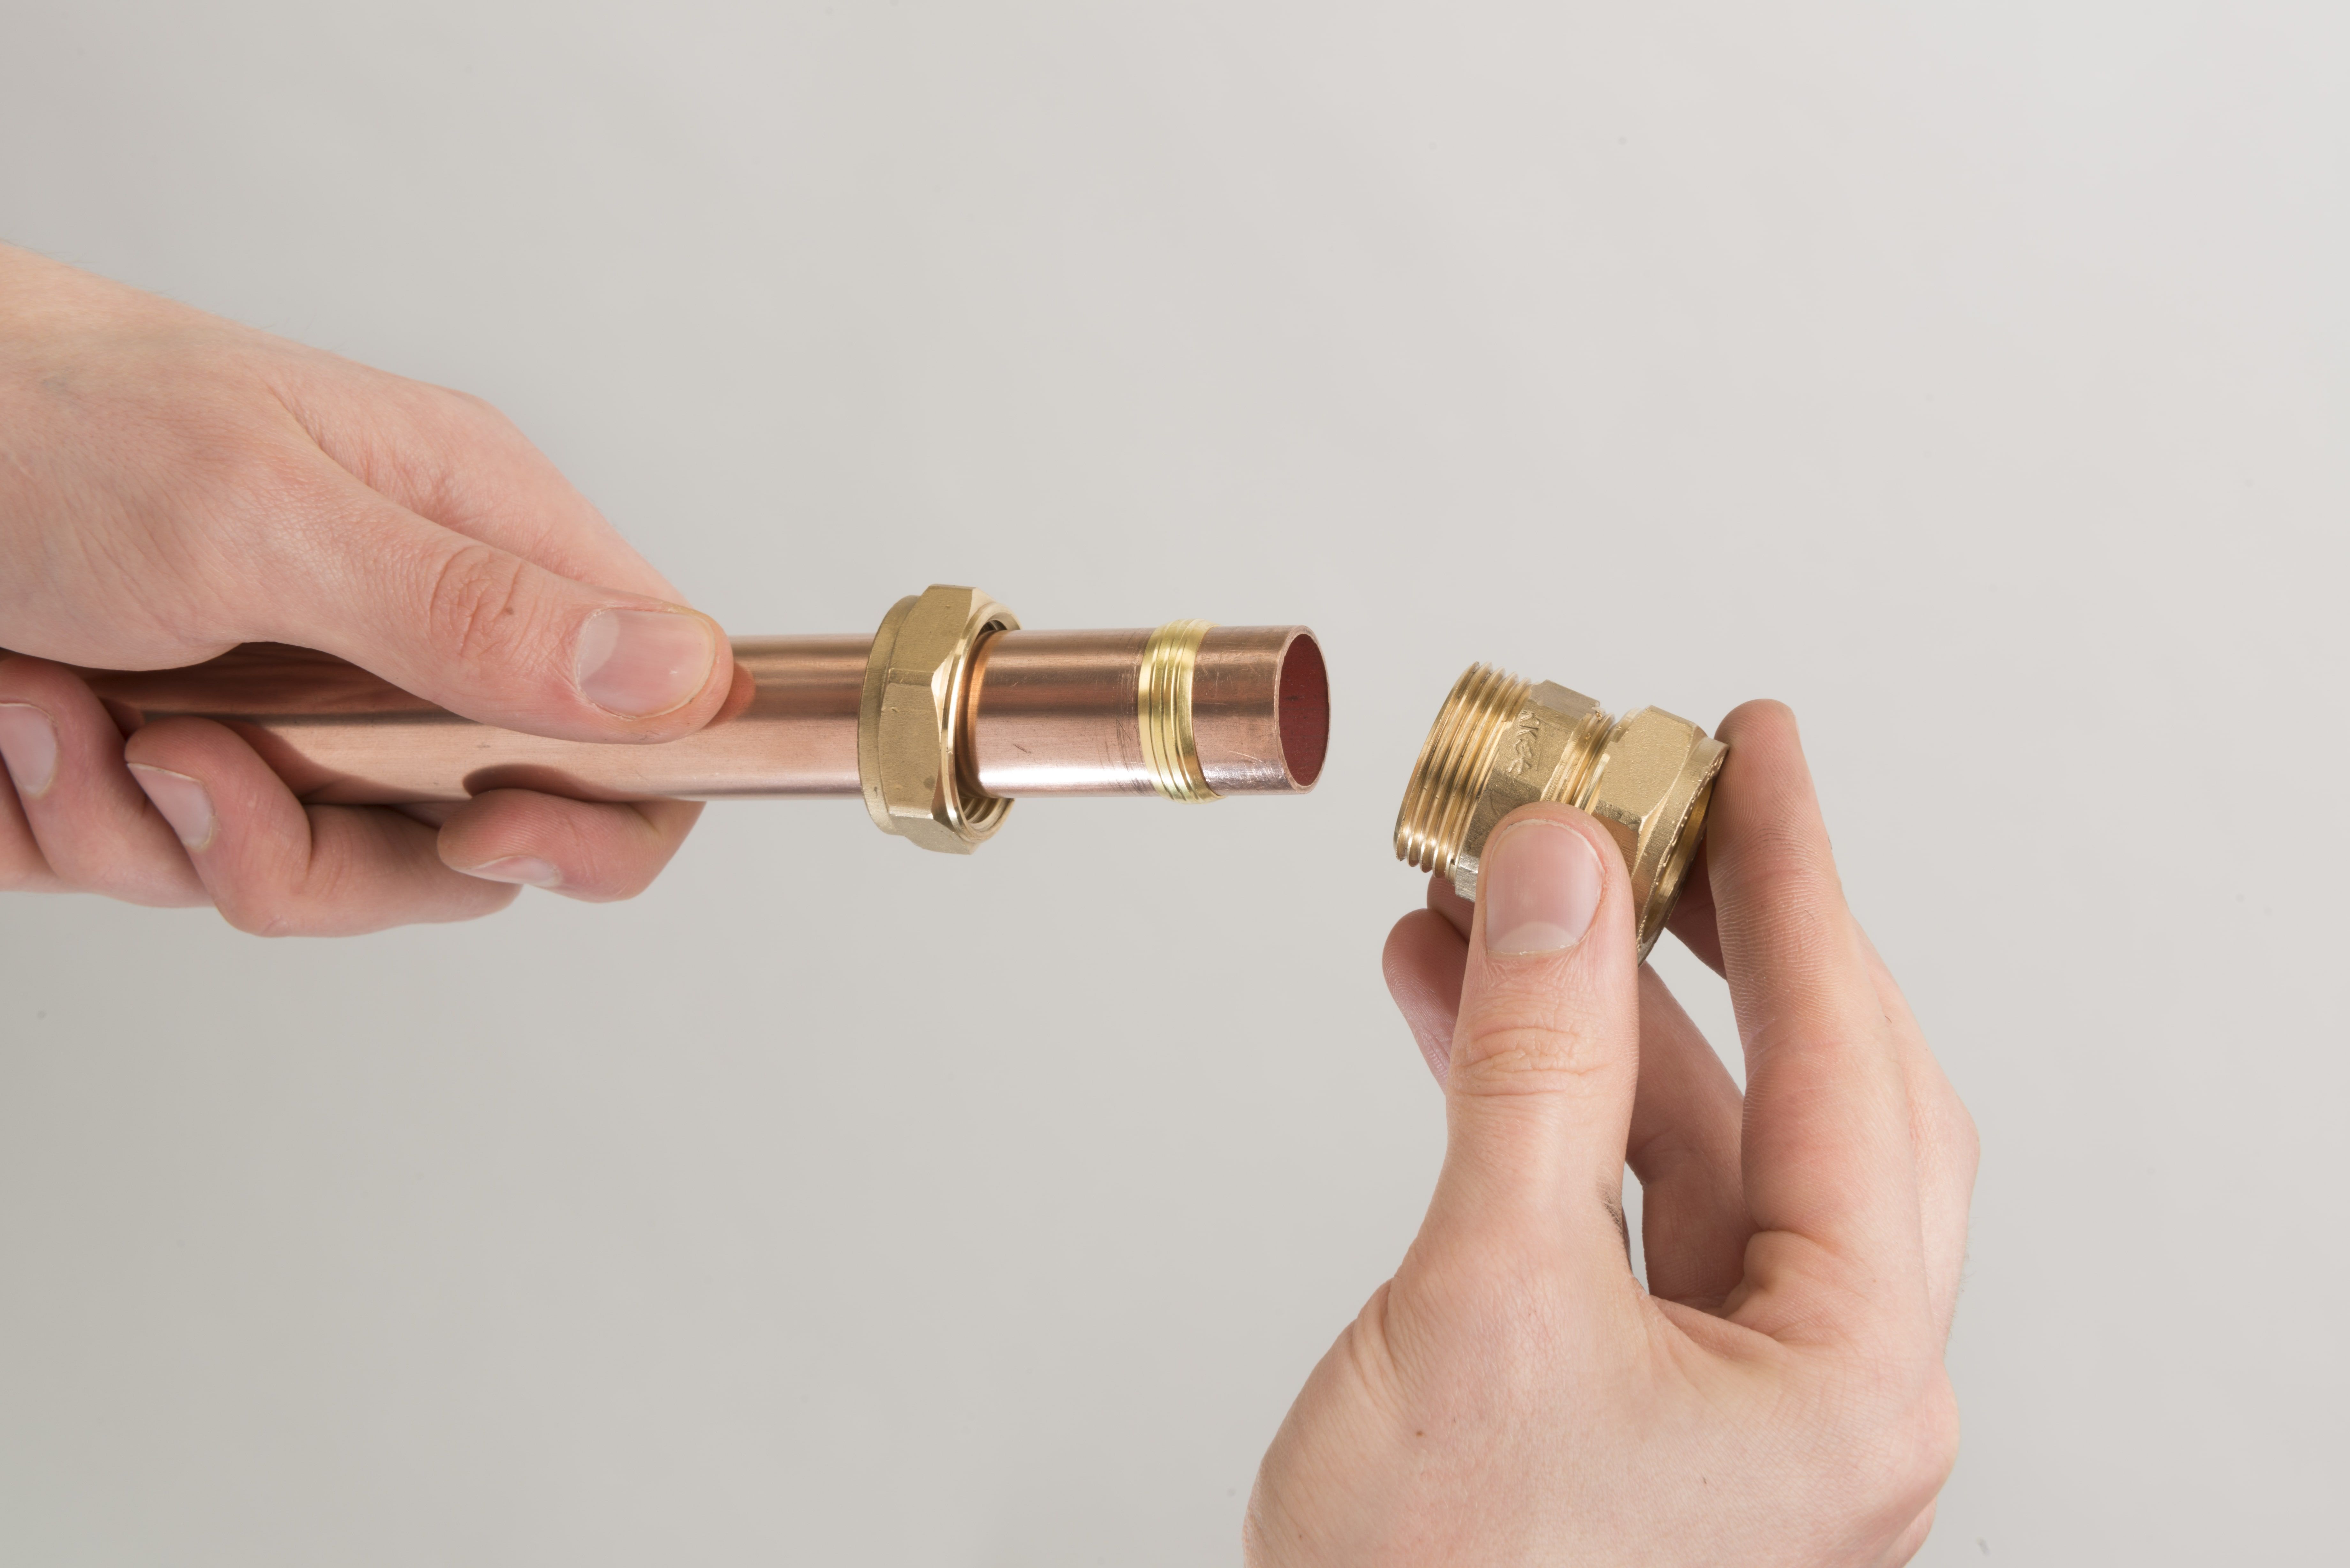
Threaded Connections

Threaded connectors have taper male or parallel female BSP threads, and the most popular sizes have parallel male BSP threads. These are for jointing pipework to boilers, pumps or backplate elbows. For taper male threads, a small amount of inert jointing compound or PTFE tape should be applied before installation.

When installing parallel male threads, for example to cisterns and cylinders, a good quality jointing washer should be used.

PTFE Tape

Some authorities and system specifications preclude the use of jointing compounds or require that only certain proprietary material may be used. Before utilising jointing compound, make sure yours is compliant.

Testing

We recommend that all systems are throughly tested upon completion. Whenever possible, completed systems should also be flushed to remove debris.

Hydraulic Installations

In hydraulic based installations, the system may be tested to 1.5 times the working pressure of the system. If higher test pressures are required, then please contact us for further advice.

Any Questions?

Our team is available for you anytime.