Installation Instructions
Copper Press Fittings Product Range

Last Updated

December 4, 2020

Flowflex reserve the right to alter the product ranges and specifications associated with its products without prior notice

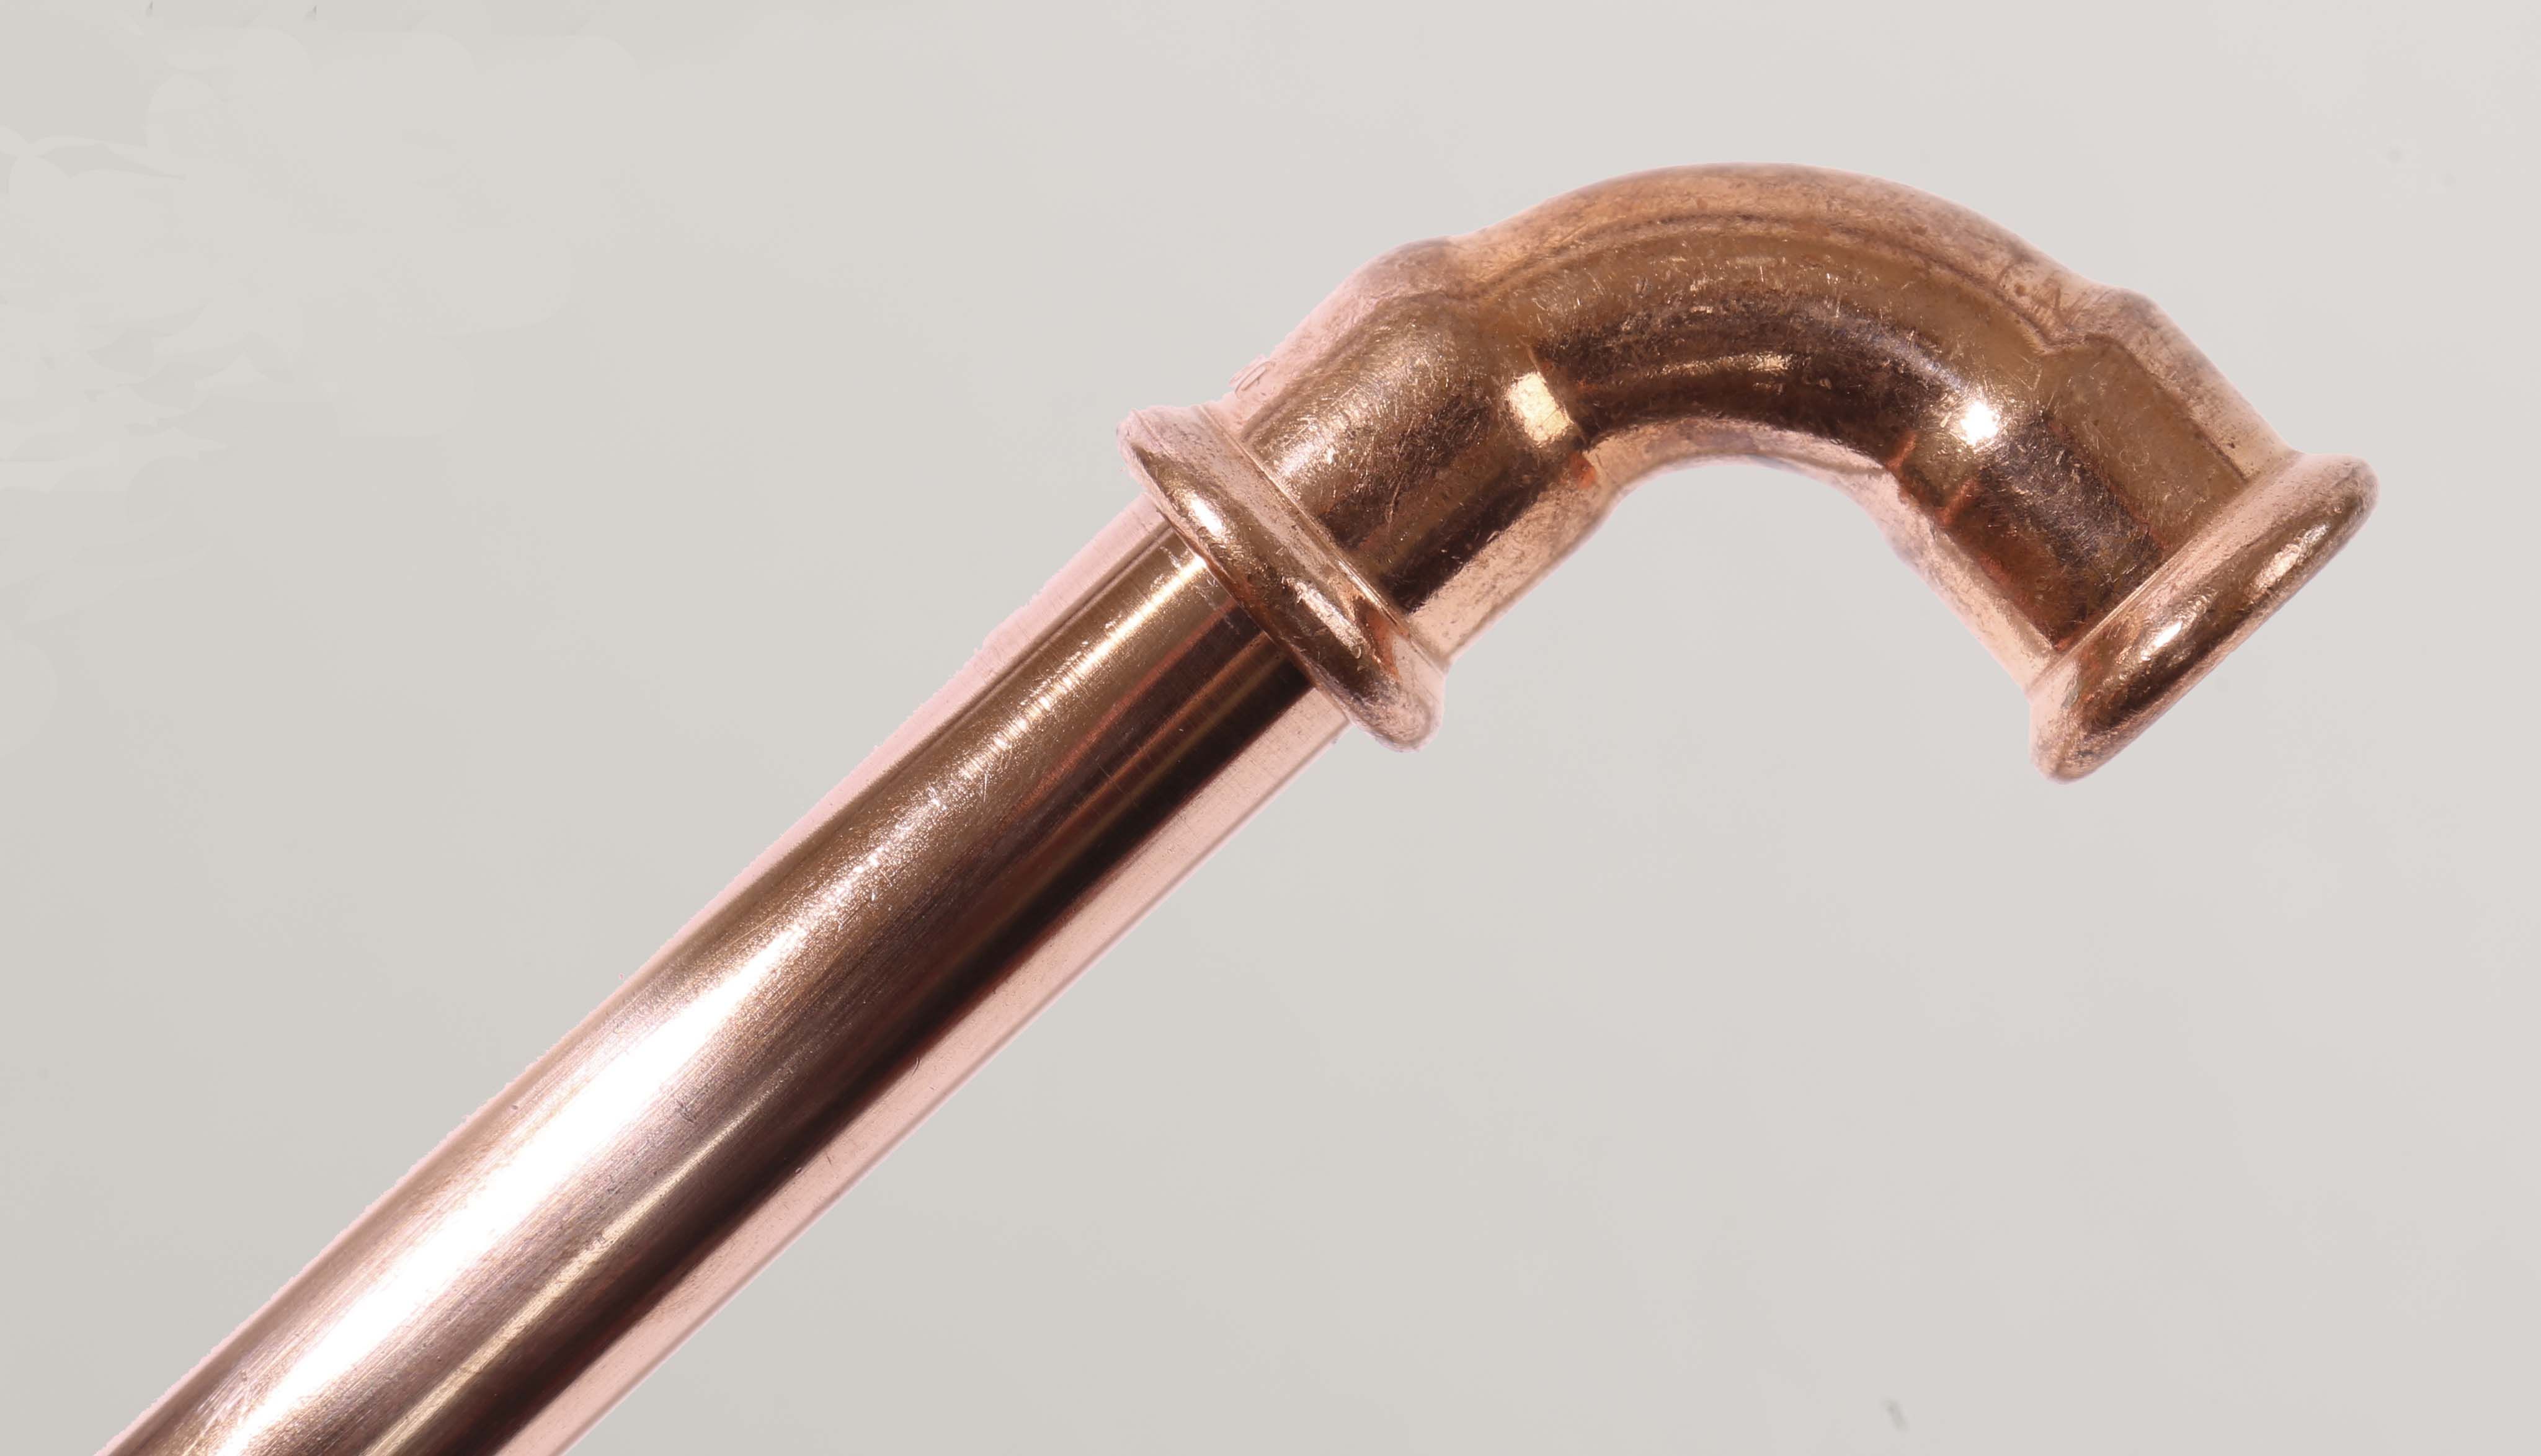
Flowflex Copper Press Fittings offer the ideal, cost-effective jointing solution for domestic, commercial & industrial applications.

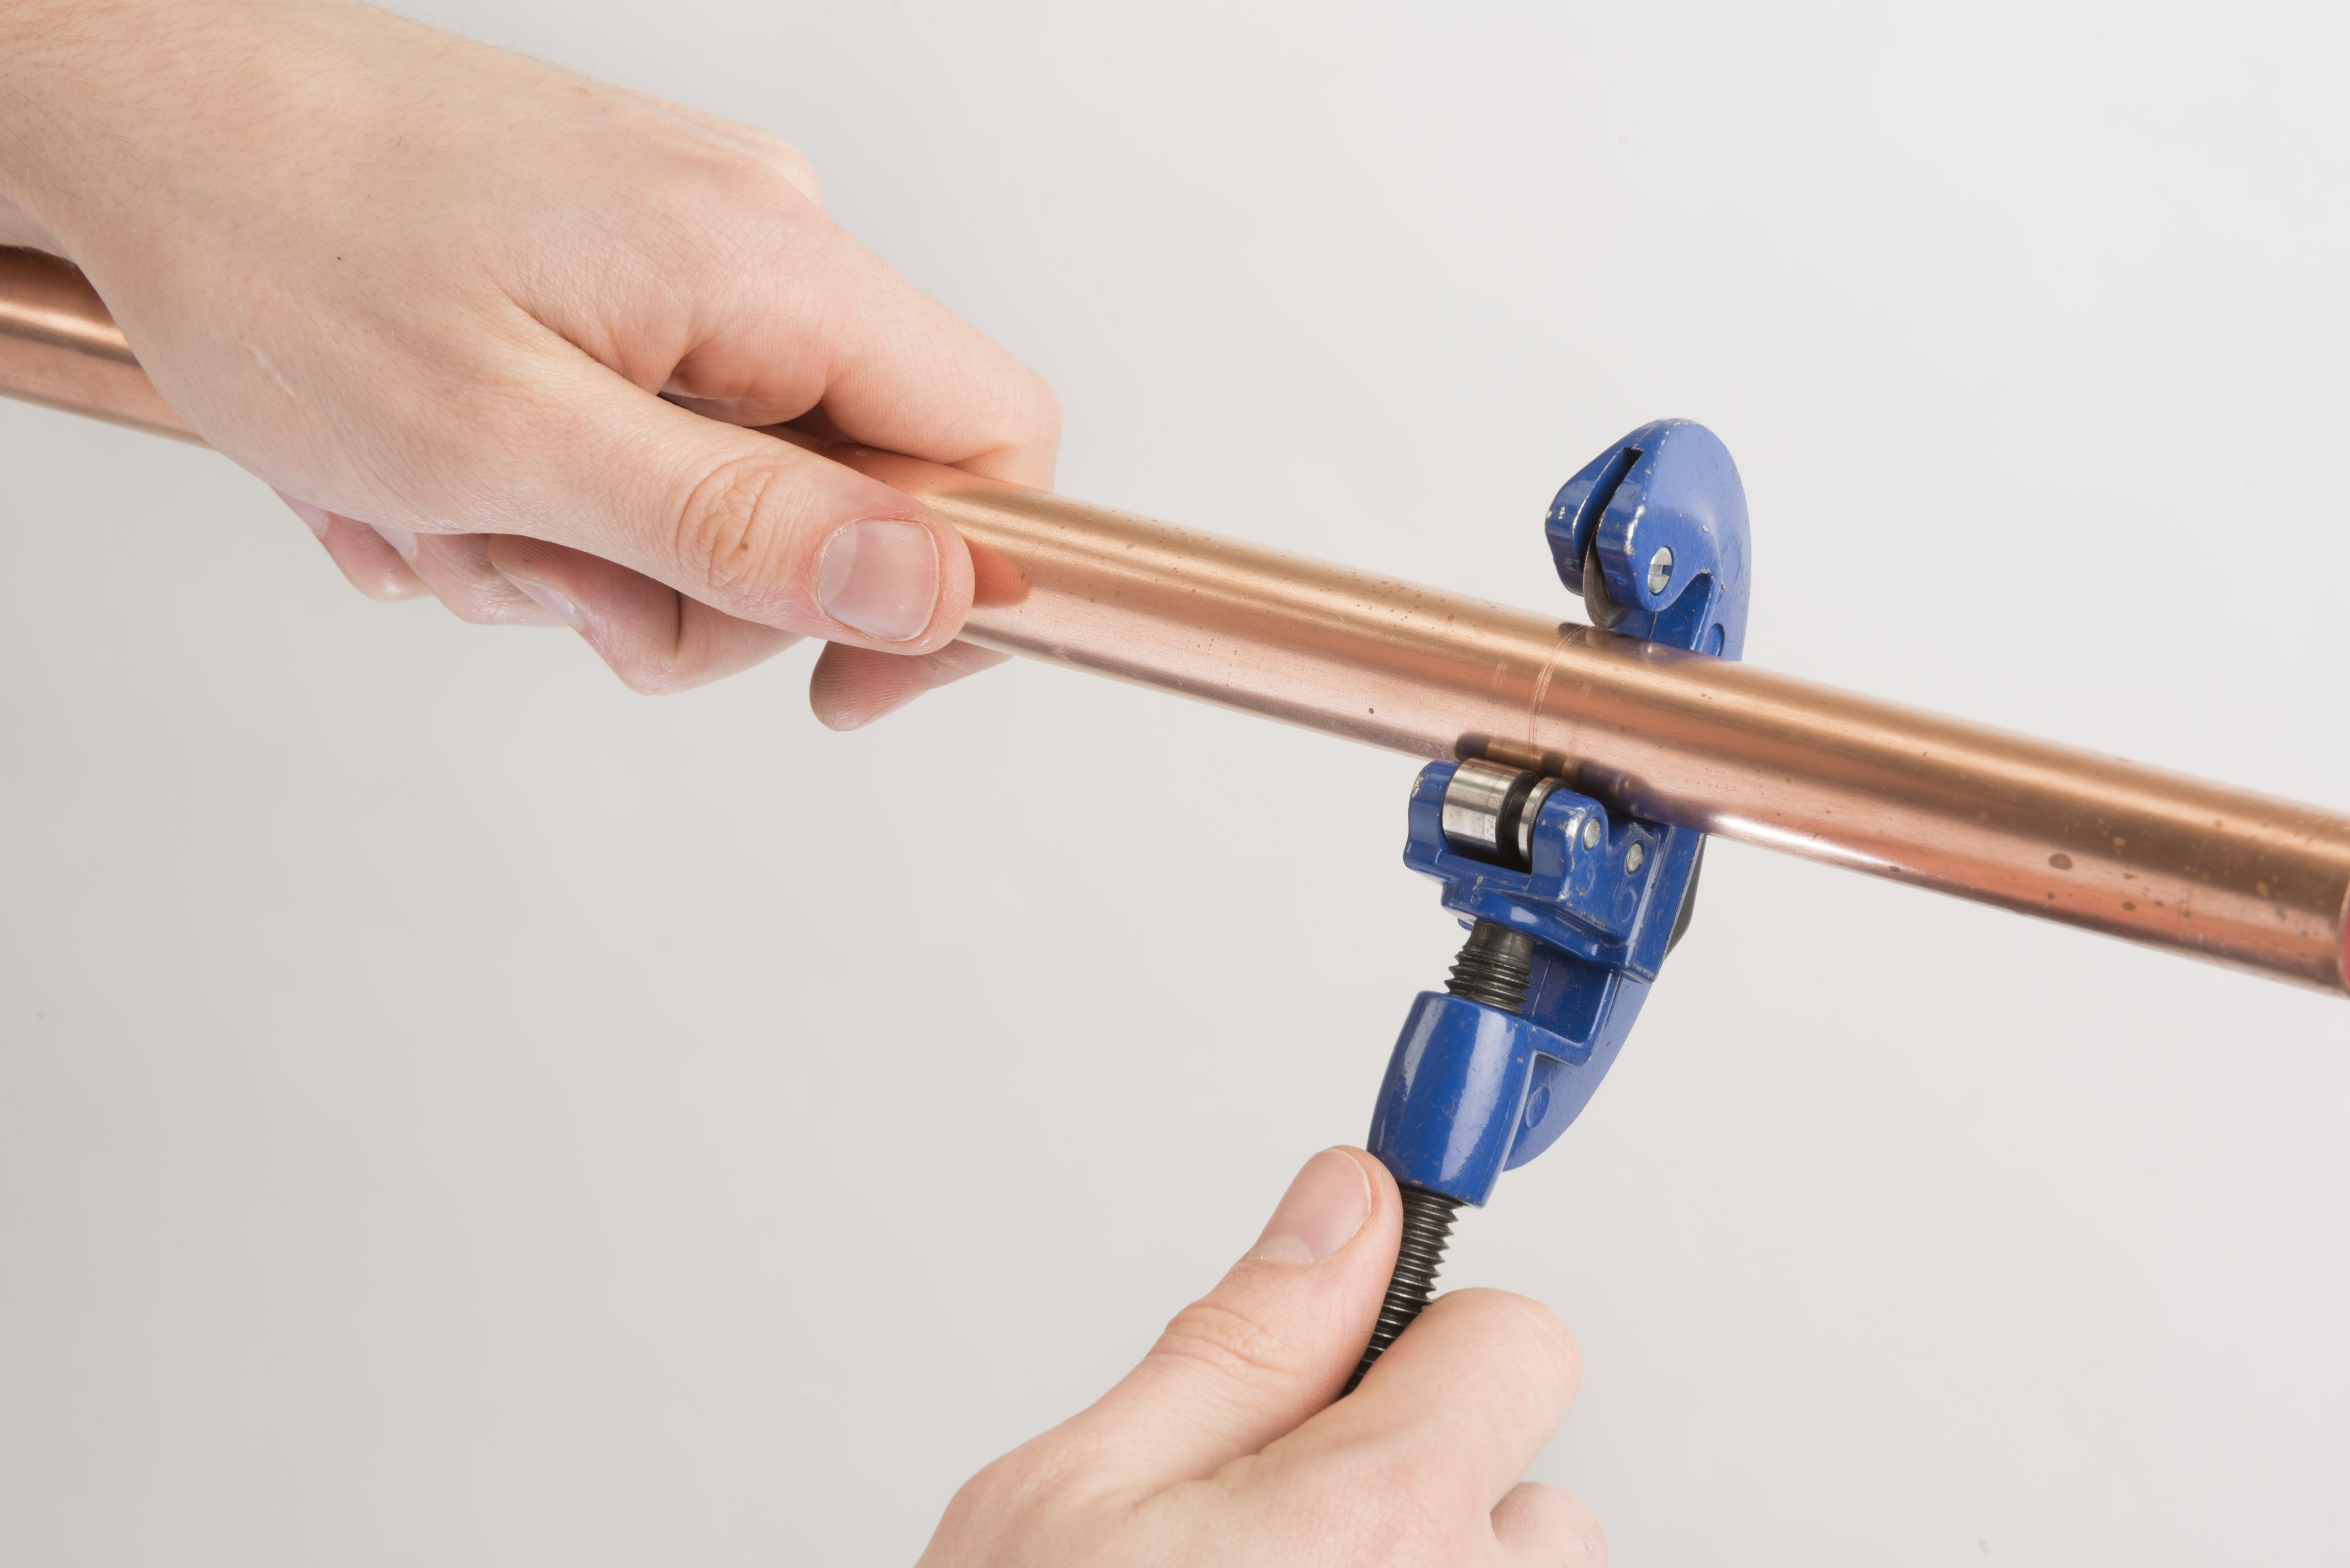
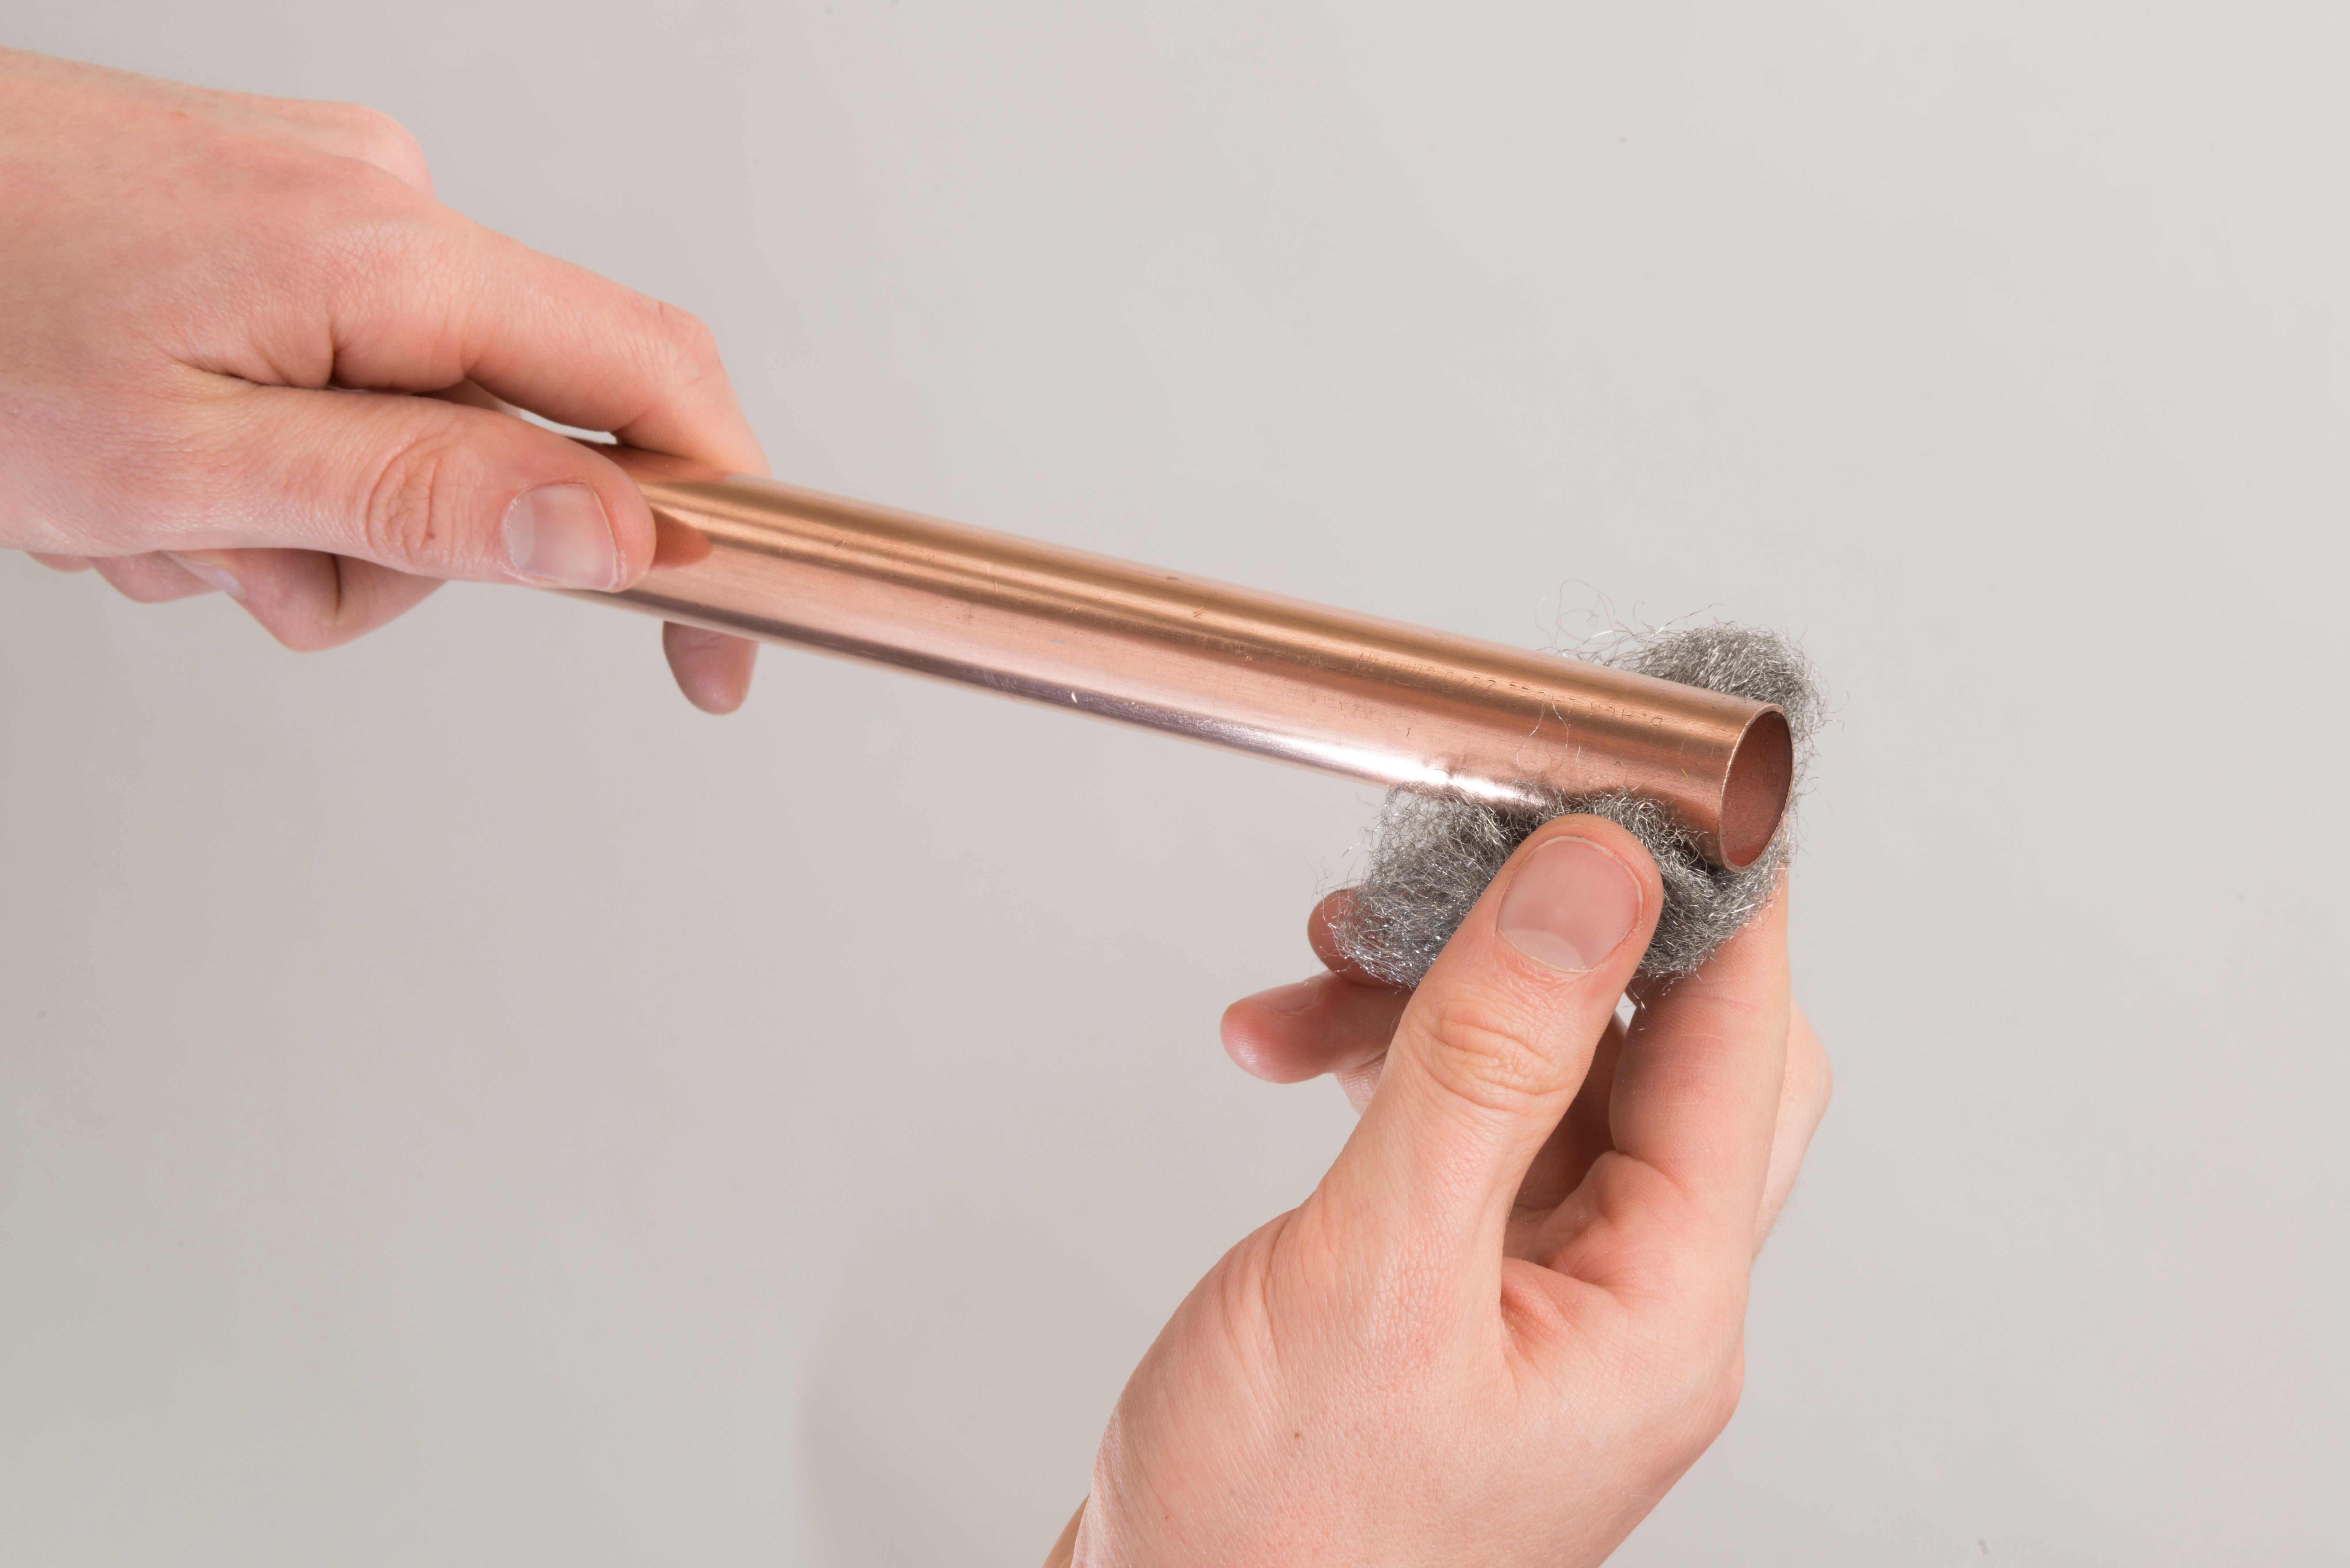
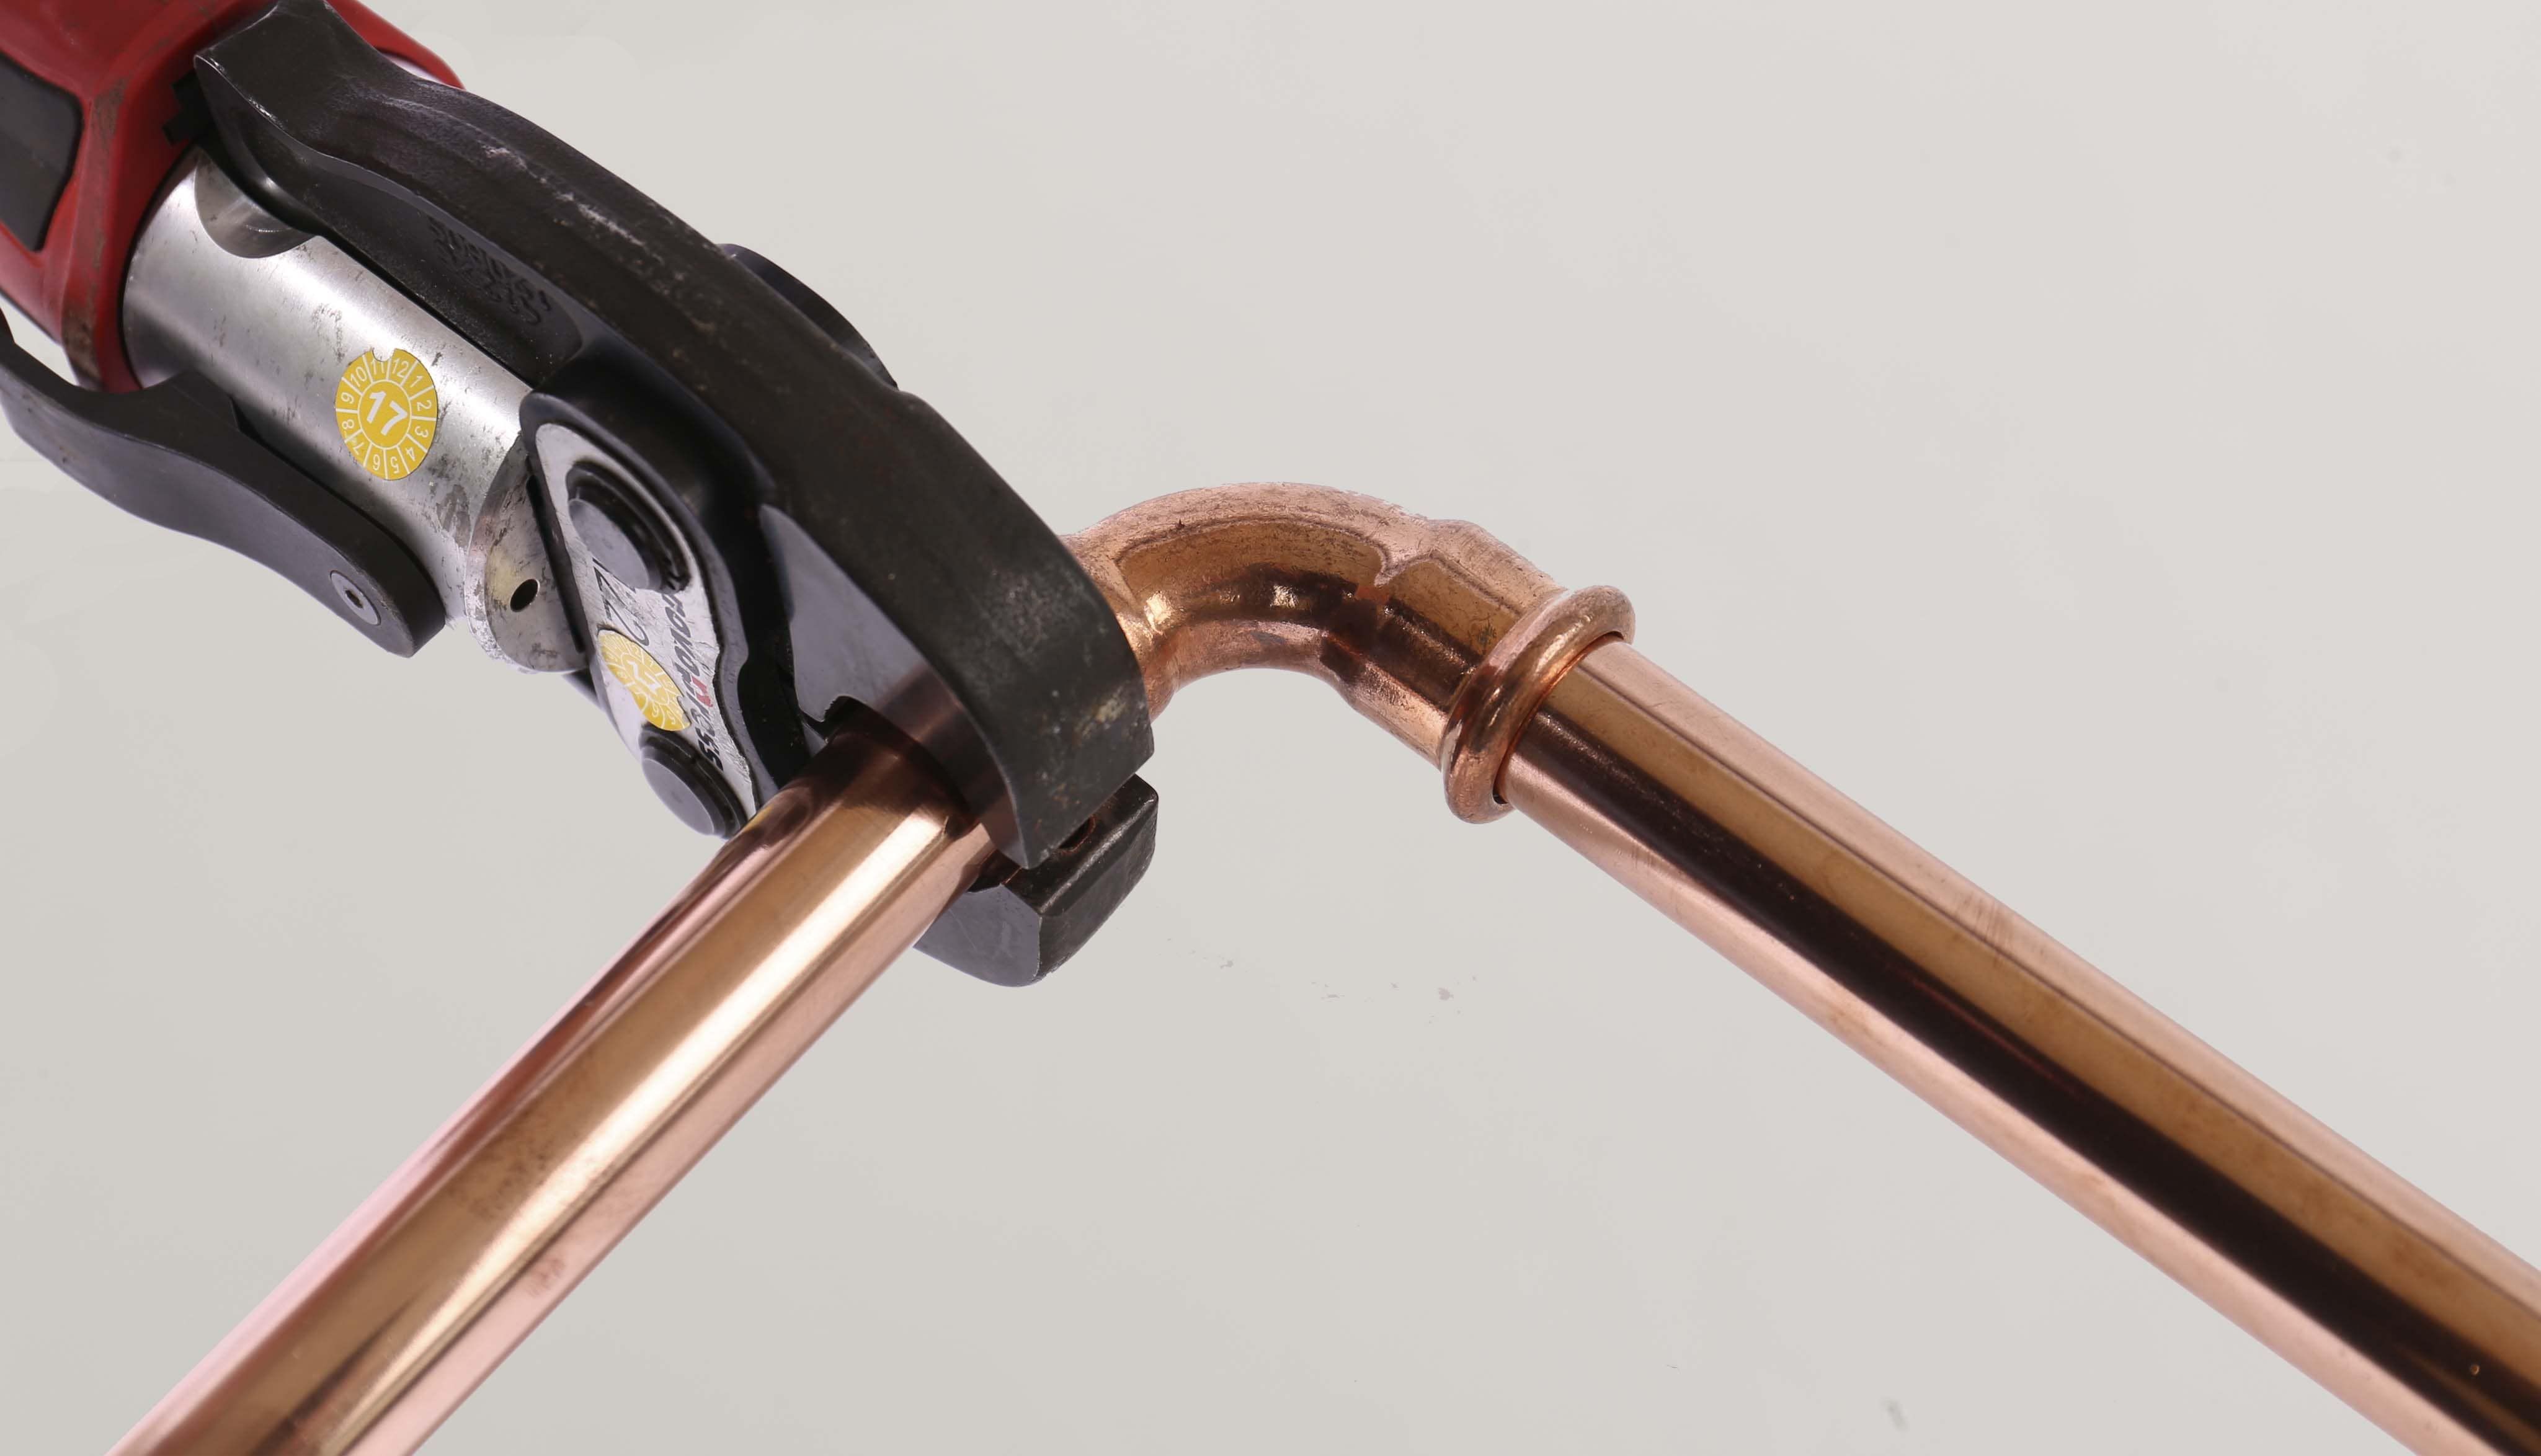
Our complete range of M-Profile Copper Press can be installed using a speedy heat-free jointing technique which creates an aesthetic, secure and permanent joint.

Copper Press Fittings are available in sizes from 15mm to 76mm follow 'M' Profile and are compatible with all 'M' Profile tooling.

Above Ground Applications

  • Domestic
  • Commercial
  • Industrial
  • Drinking Water
  • Purified Water
  • Heating Systems

Preliminaries

Tube Specification

Ensure the tube conforms to the specification, and that the tube outer diameter matches the size of the fitting. Ensure that both the tube and fitting are clean, in good condition and free from any damage or imperfections.

Equipment

Materials
  • Copper Pipe
  • Press Fitting
Tools
  • Press Tooling - 'M' Profile Jaws
  • Press Gun

Installation

Cut Your Pipe to Size

Cut Your Pipe to Size

Cut your pipe cleanly across the tube diameter using a good quality pipe cutter or rotary pipe cutter.

It is important to ensure that the pipe ends are clean and cut square. Failure to do so could impact on the quality of your jointing. If your cut is not flat, or your pipe is too short, the pipe may not hit the pipe stop compromising the joint integrity. Too long and you may introduce strain into the whole system.

Clean The Socket of the Pipe

Clean The Socket of the Pipe

Using your deburring tool, make sure the inside of the pipe is smooth and will not interfere with the flow.

Take care to ensure the tube is not deformed by applying too much pressure. If you need to be more delicate, use of a stiff wire brush is recommended to reach the desired outcome.

It is important that the inside of the pipe is smooth and doesn’t interfere with the flow. In the case that flow local to the joint is affected, erosion and corrosion may occur and also vibrations.

Clean The Outside of the Pipe

Clean The Outside of the Pipe

Clean the outside of the pipe, making sure that there is no pipe residue, dirt or grit is present near the joint.

It is important that the outside of the pipe is clean and free from debris. A poorly cleaned tube could damage the O-Ring on insertion.

Check and Mark

Check and Mark

Before inserting the pipe, check the O-ring is present, lubricated and free from damage.

Insert the tube into the fitting up until it hits the pipe stop. Mark the insertion depth with a black marker on the tube to ensure the pipe has been fully inserted before pressing.

Crimp the Fitting

Crimp the Fitting

Ensure you select the correct size jaw and that the jaw is M profile. The jaw must be placed square on the fitting and the joint is only complete when the mouth of the fitting is fully enclosed by the jaws.

After the press cycle is complete remove the jaws and check that the socket depth marking on the pipe has remained in place, adjacent to the now pressed mouth of the fitting.

Testing

We recommend that all systems are throughly tested upon completion. Whenever possible, completed systems should also be flushed to remove debris.

Hydraulic Installations

In hydraulic based installations, the system may be tested to 1.5 times the working pressure of the system. If higher test pressures are required, then please contact us for further advice.

Any Questions?

Our team is available for you anytime.