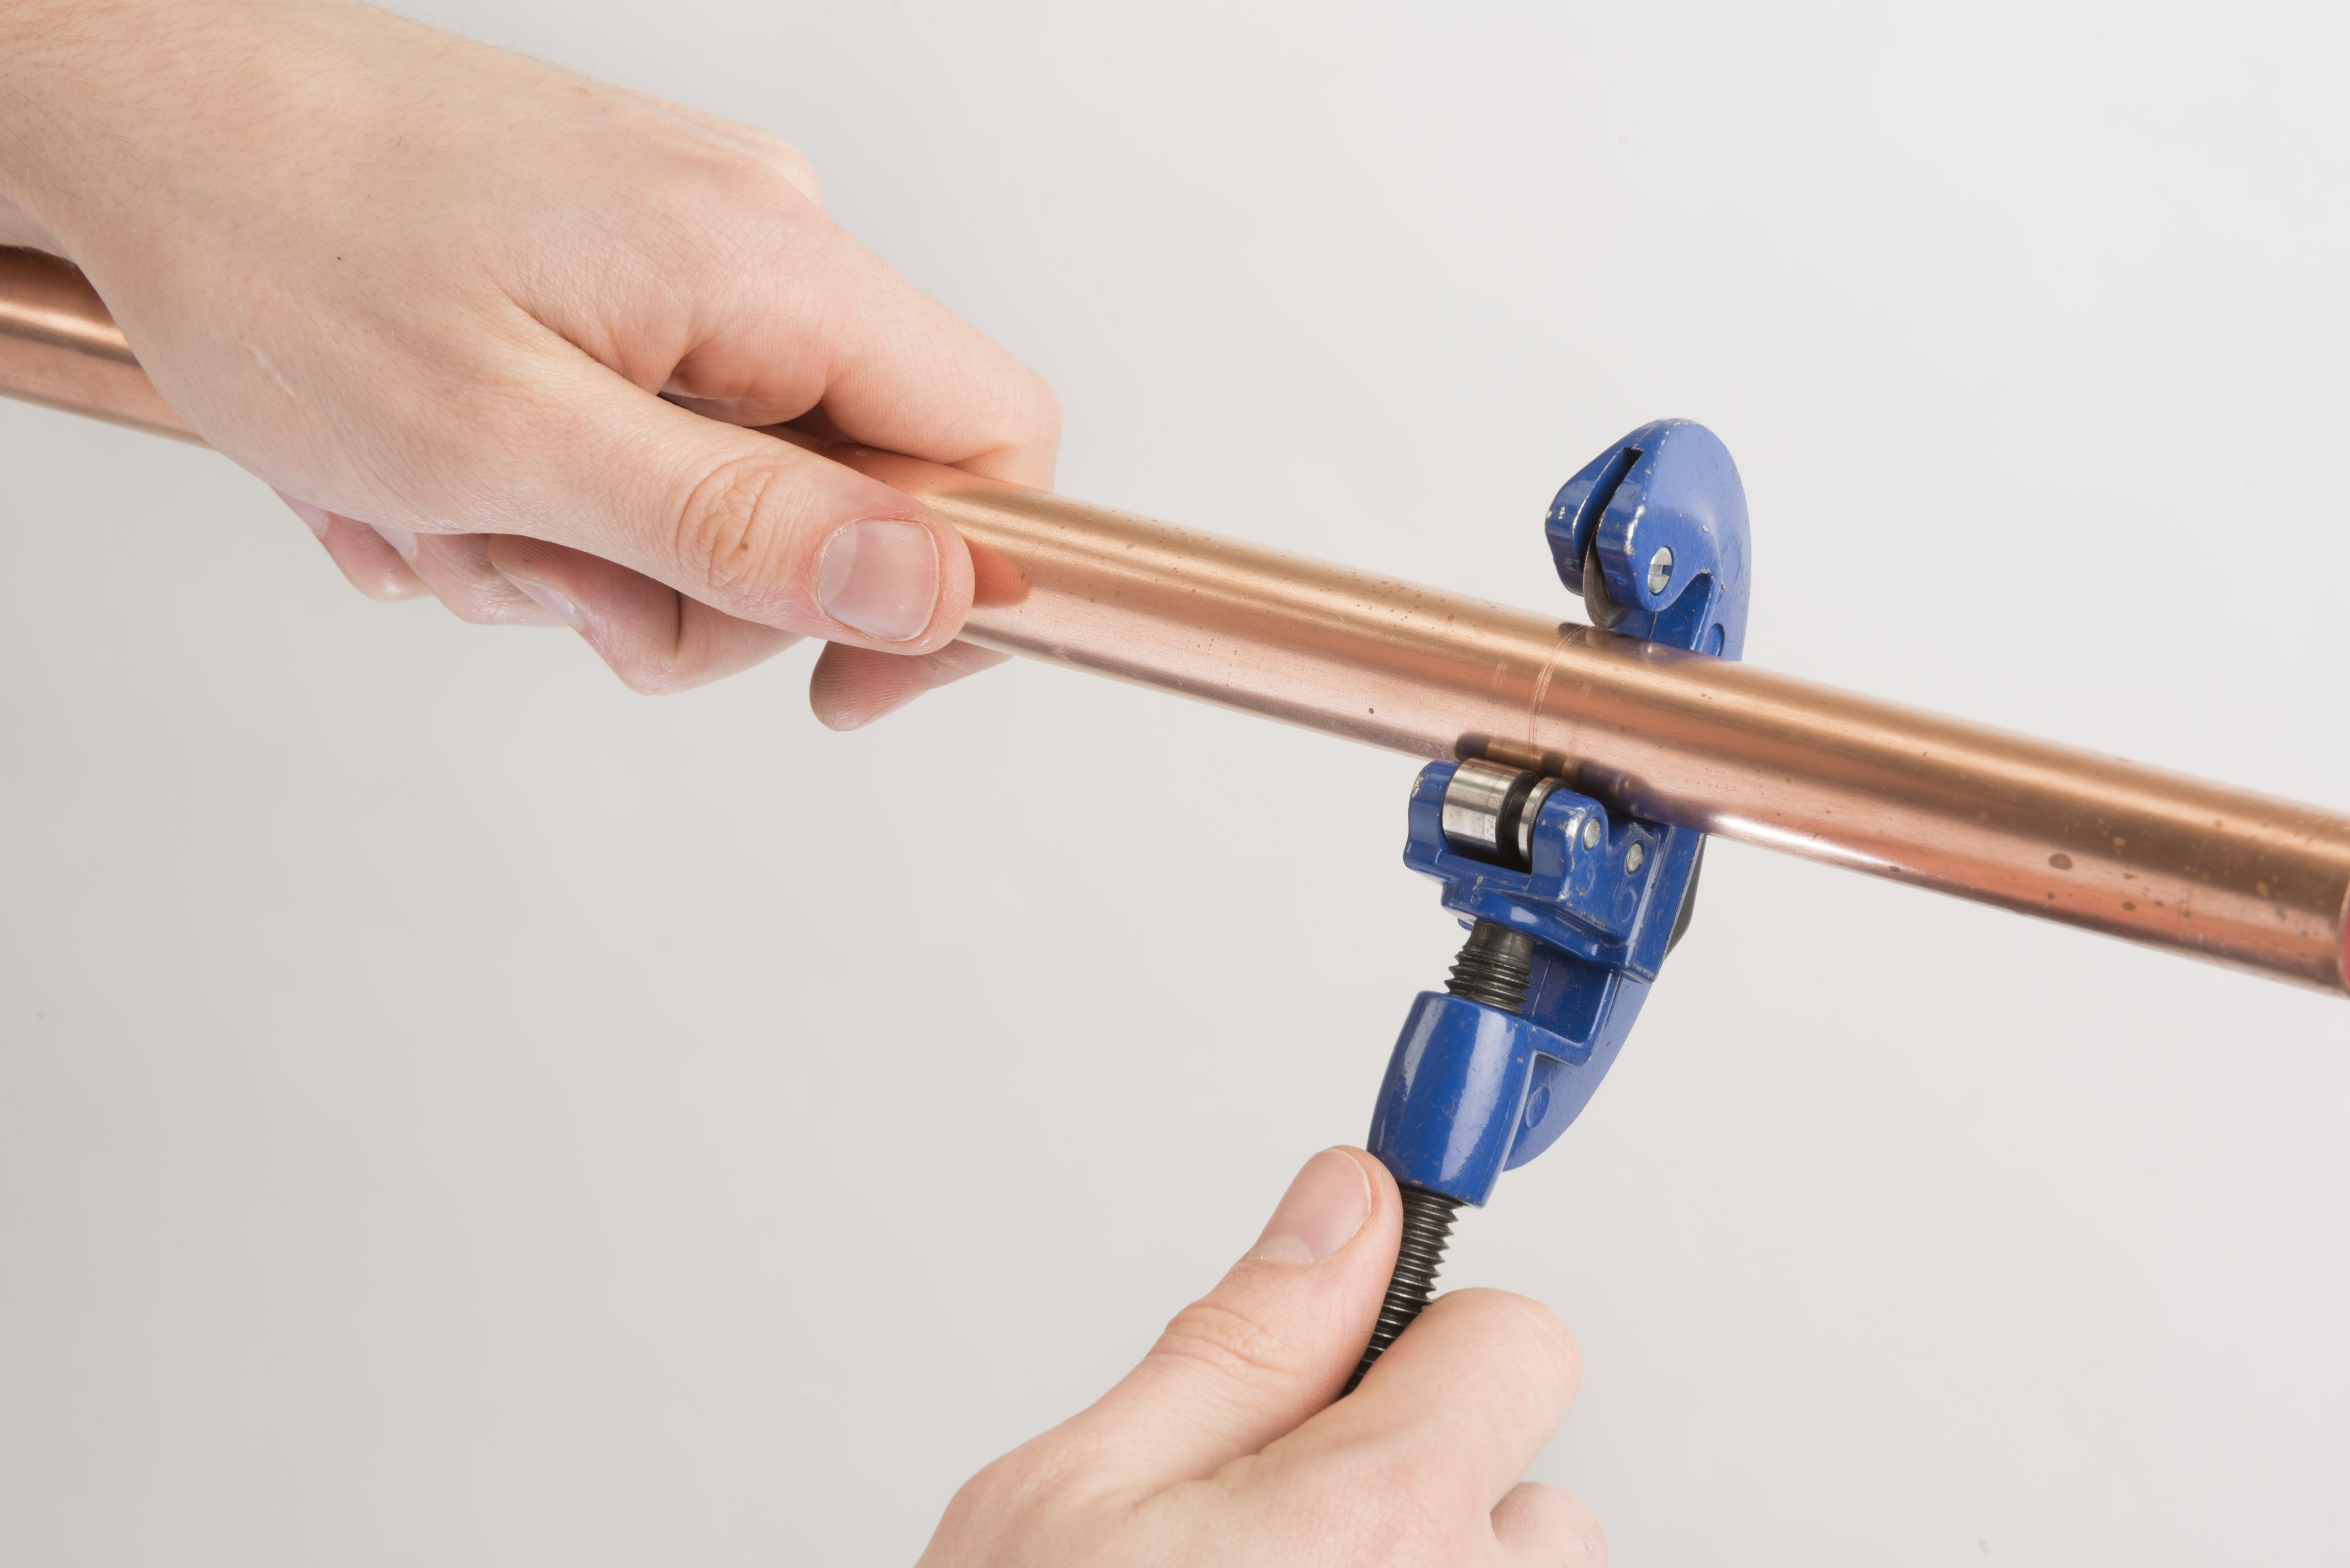
Installation Instructions
End Feed Fittings Product Range

Last Updated

December 11, 2020

Flowflex reserve the right to alter the product ranges and specifications associated with its products without prior notice

Flowflex End Feed Fittings, manufactured in both copper and bronze, are a fast, reliable and economic method of joining BS EN 1057 copper tube. They connect to copper tube through the process of capillary action with solder forming an easy, effective joint between the fitting and the tube.

Applications

  • Domestic
  • Commercial
  • Industrial
  • Hot and cold water services
  • Heating installations
  • Fuel services
  • Low pressure gas pipework in domestic premises

Preliminaries

Solder

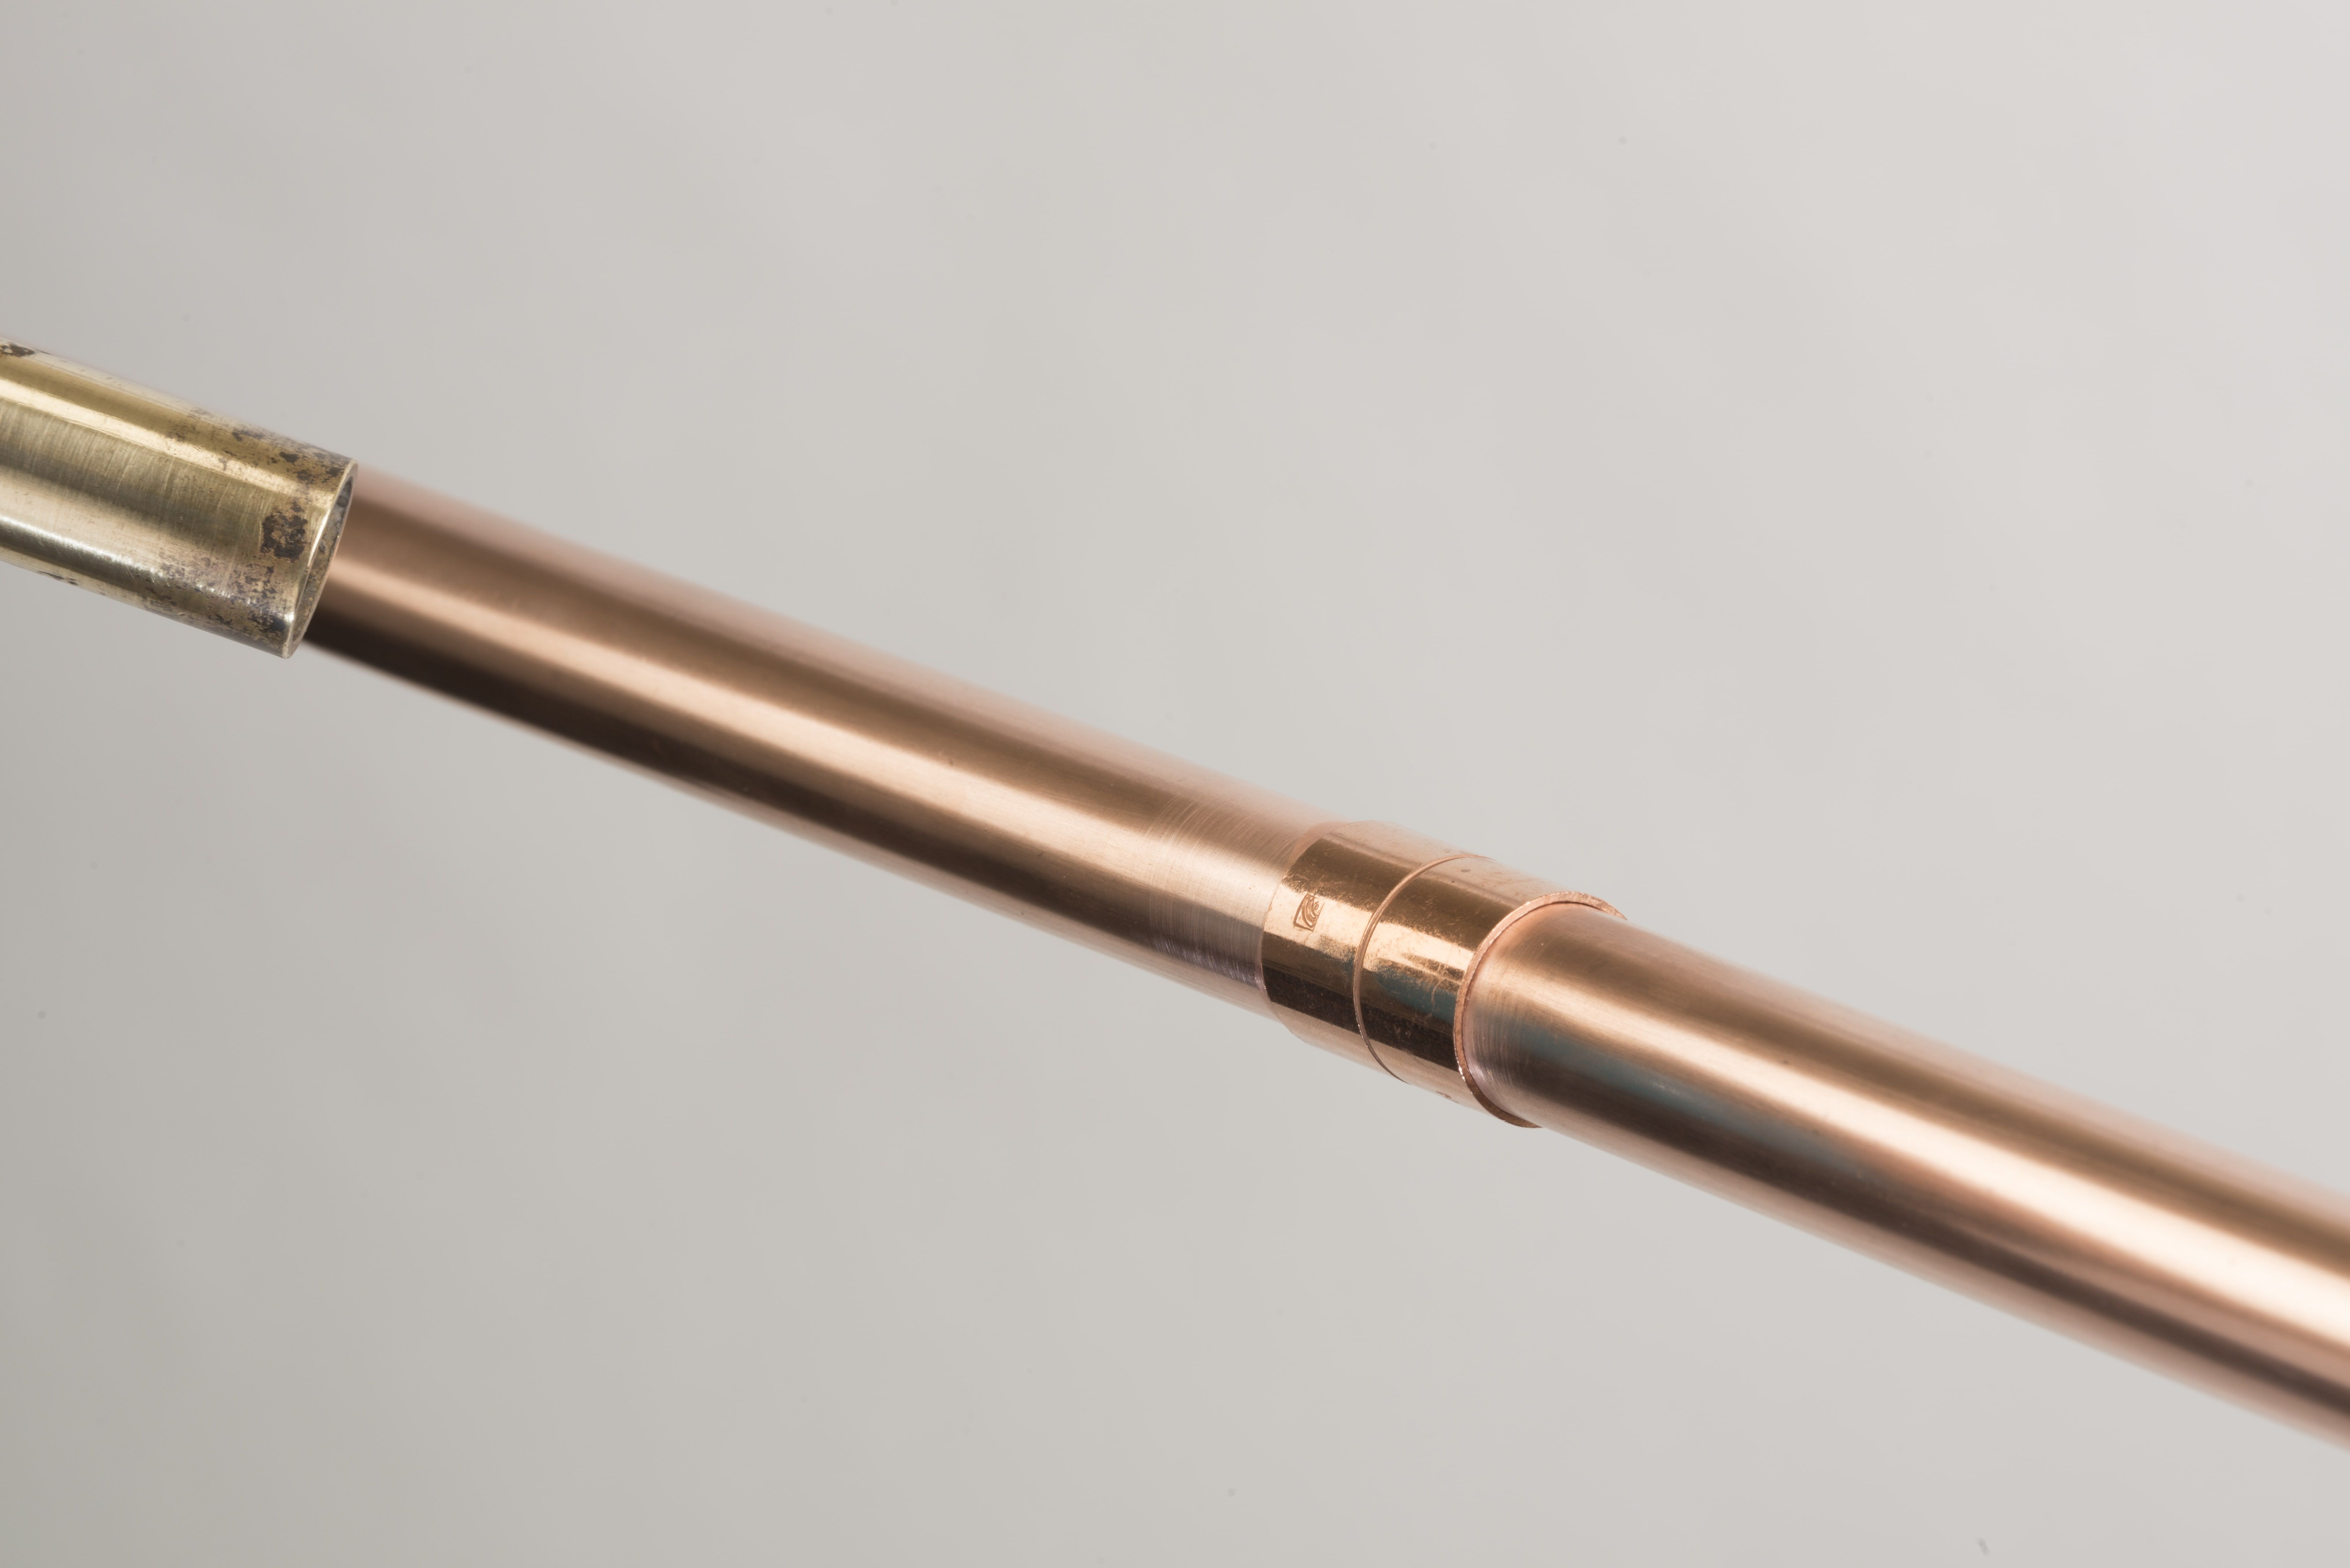
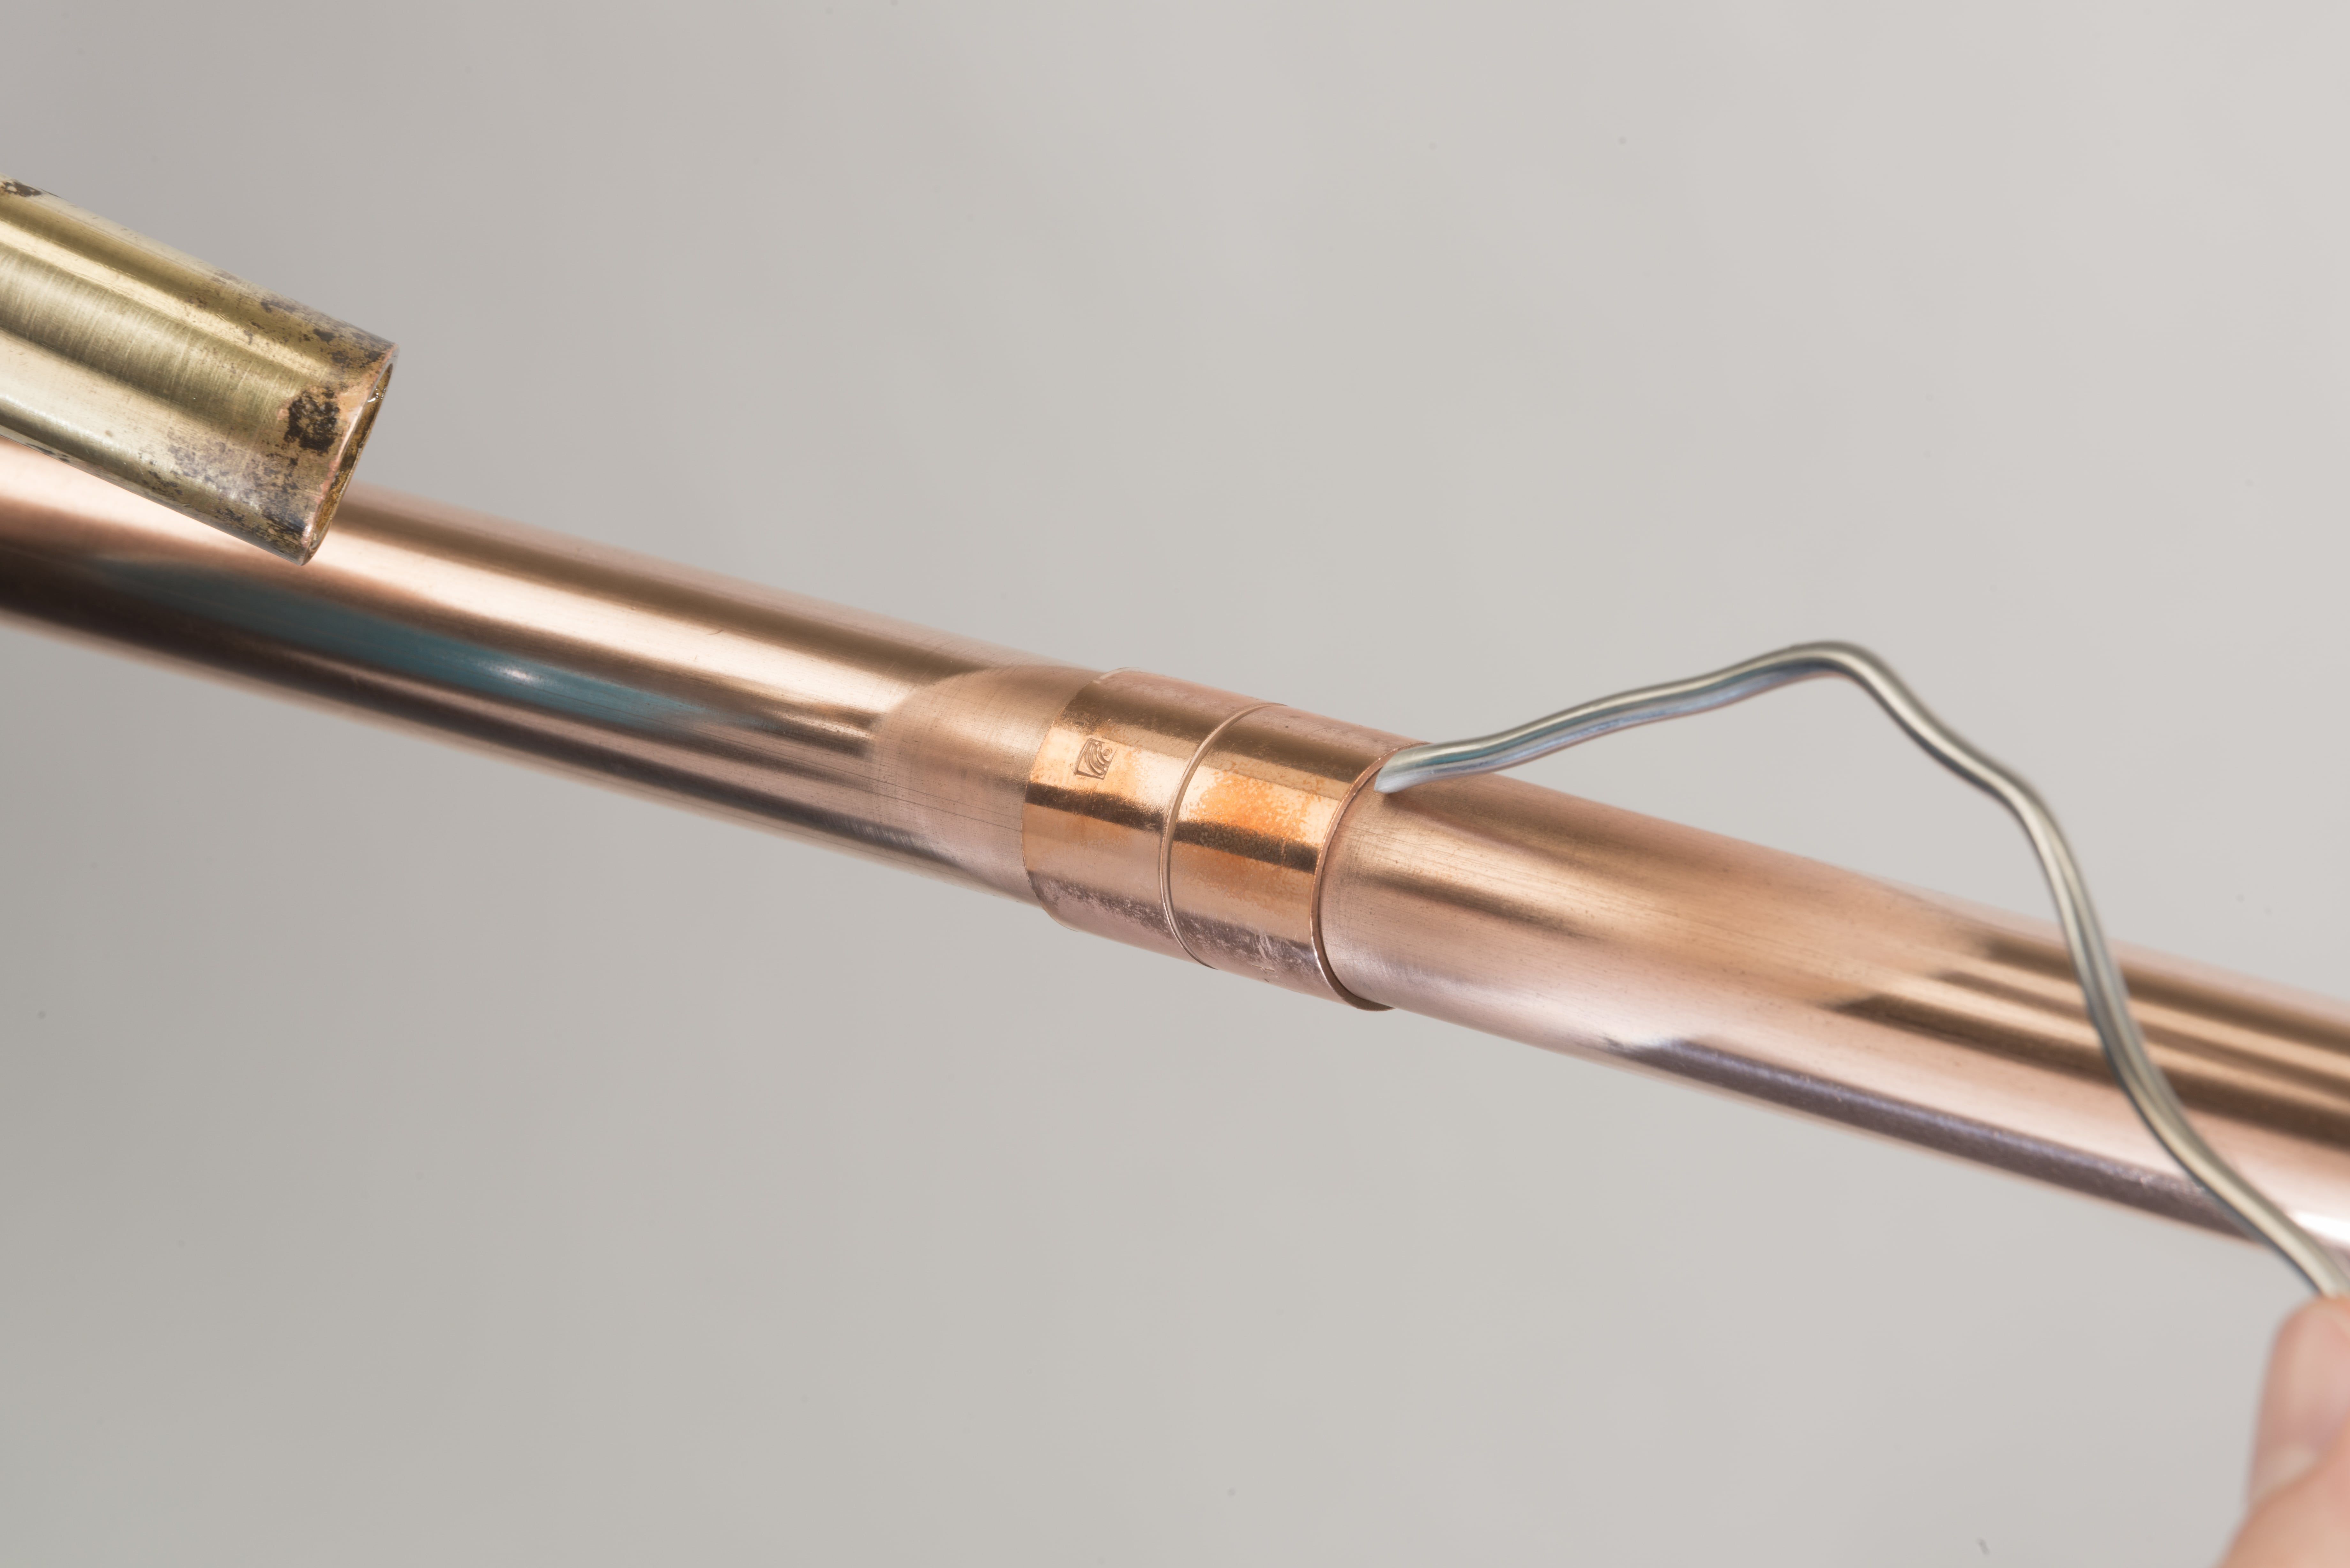
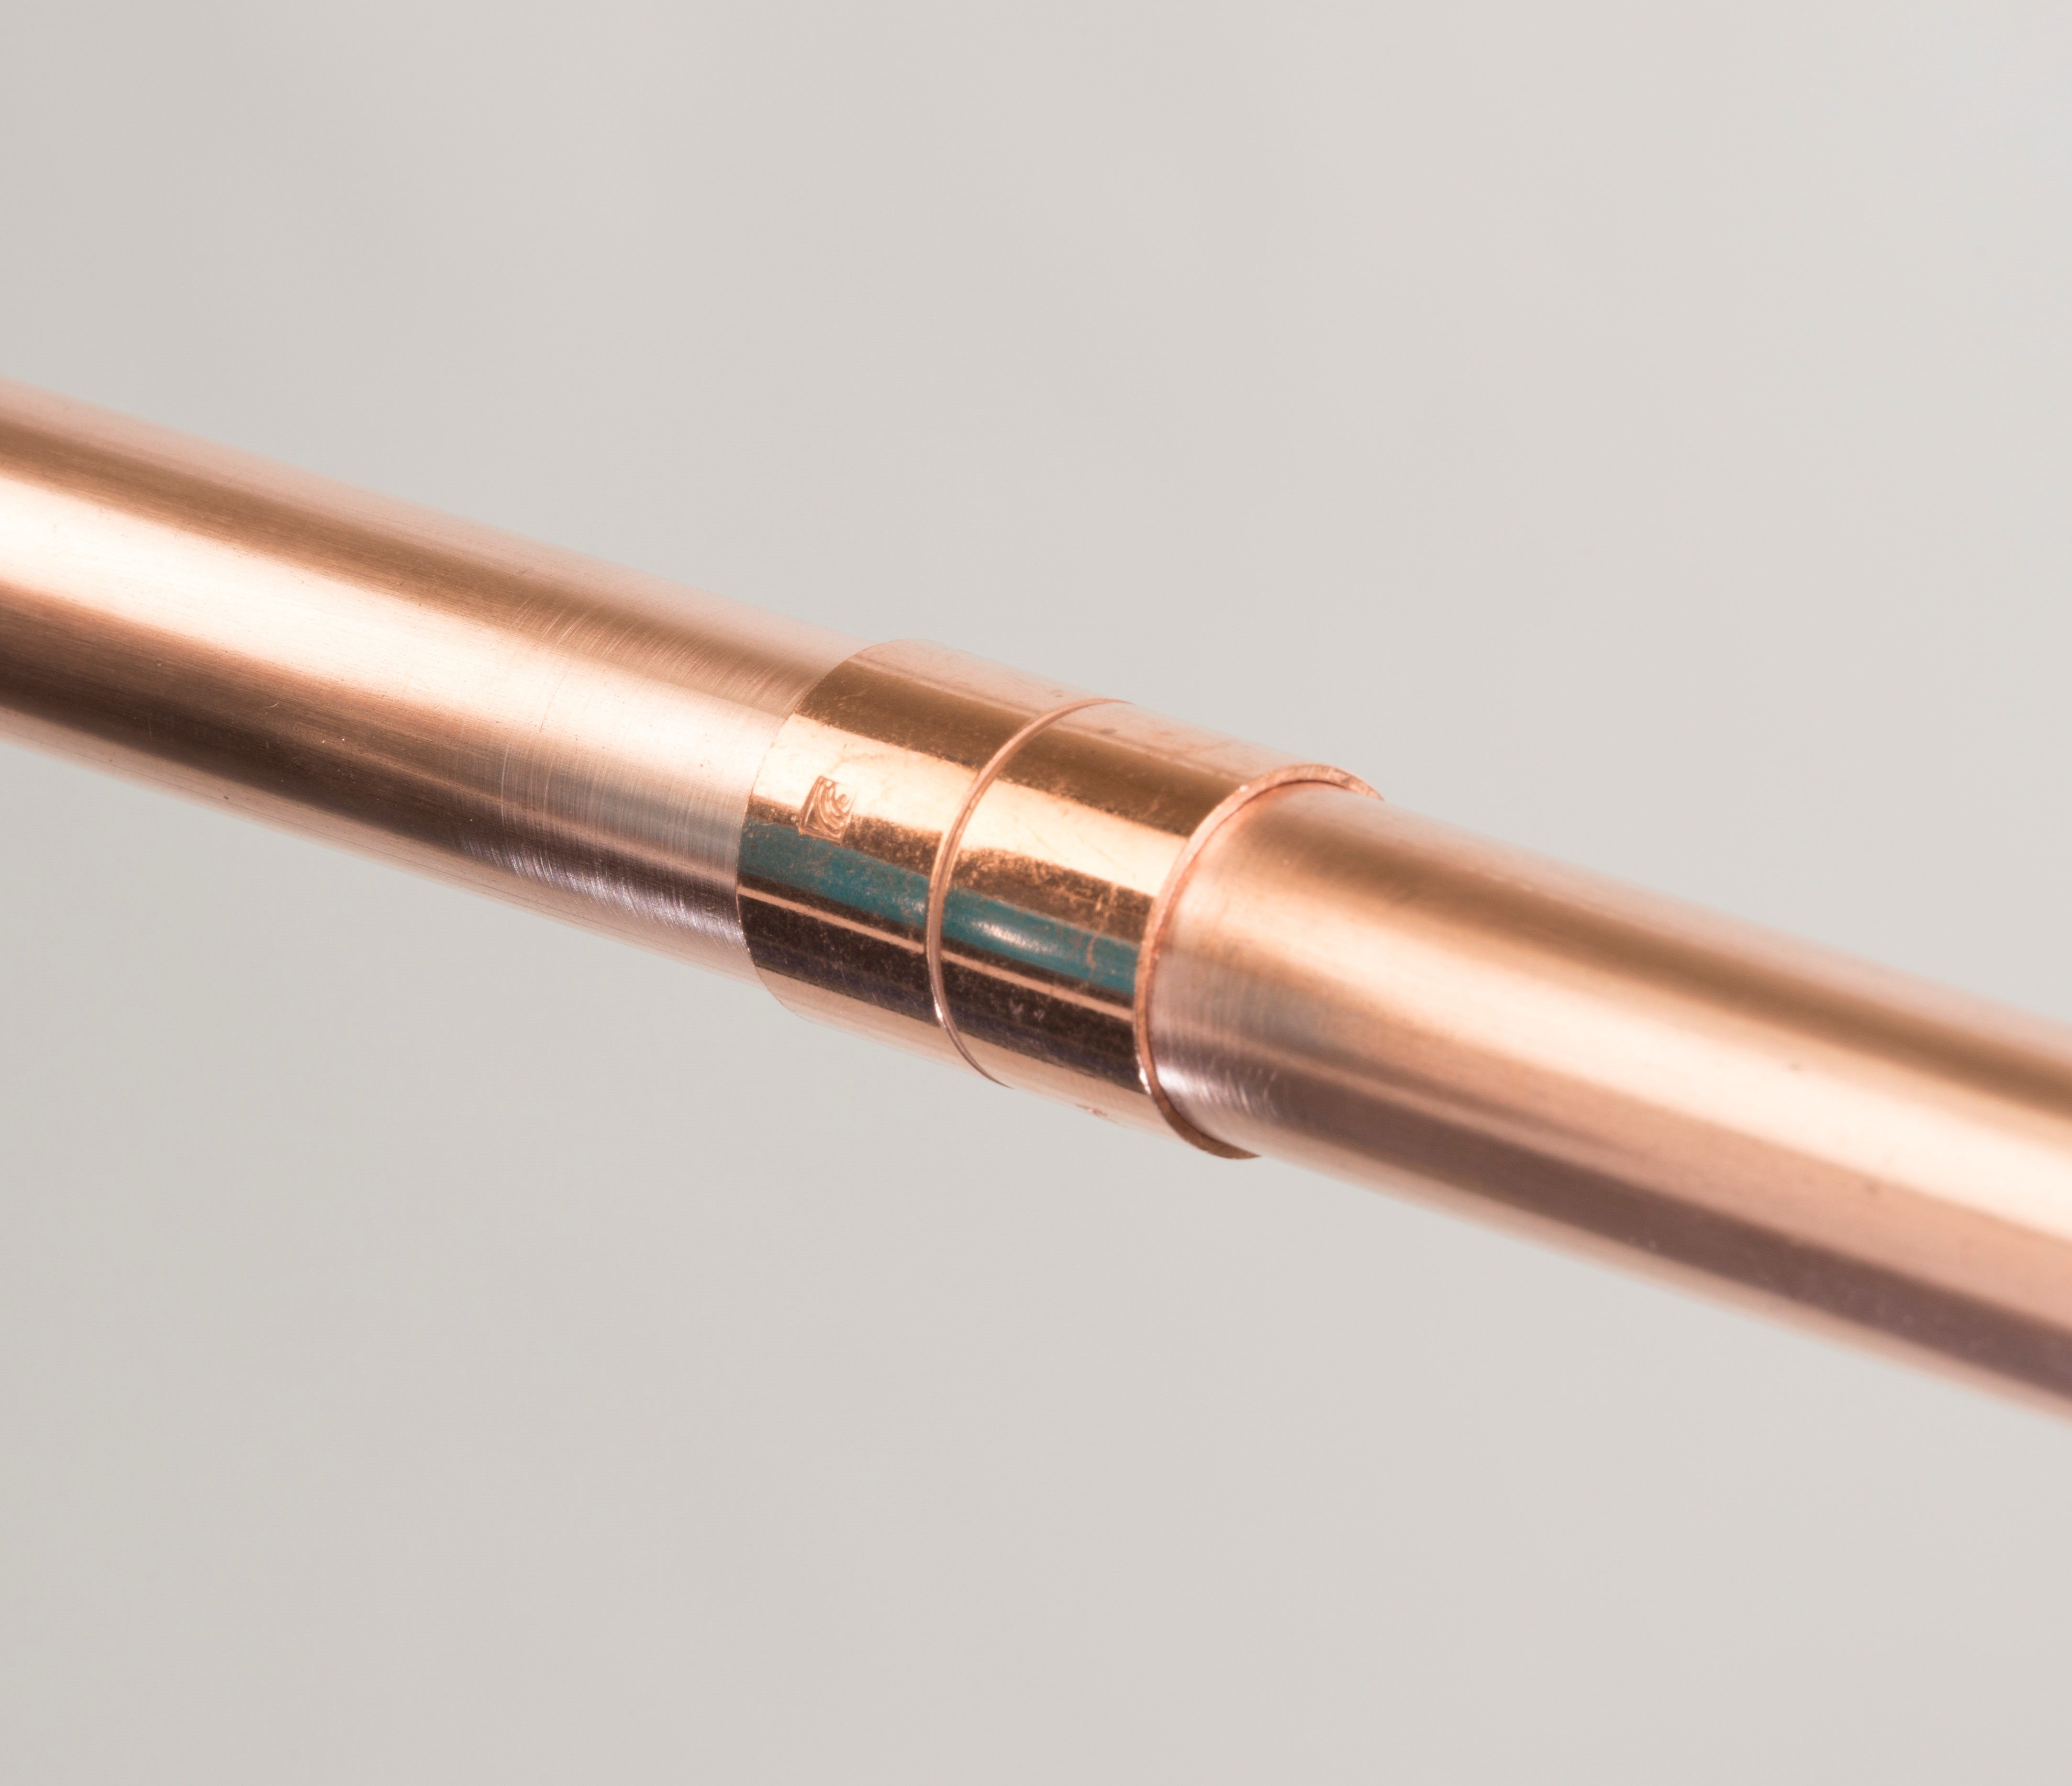
Soldered joints depend on capillary action drawing free-flowing molten solder into the gap between the fitting and the tube.

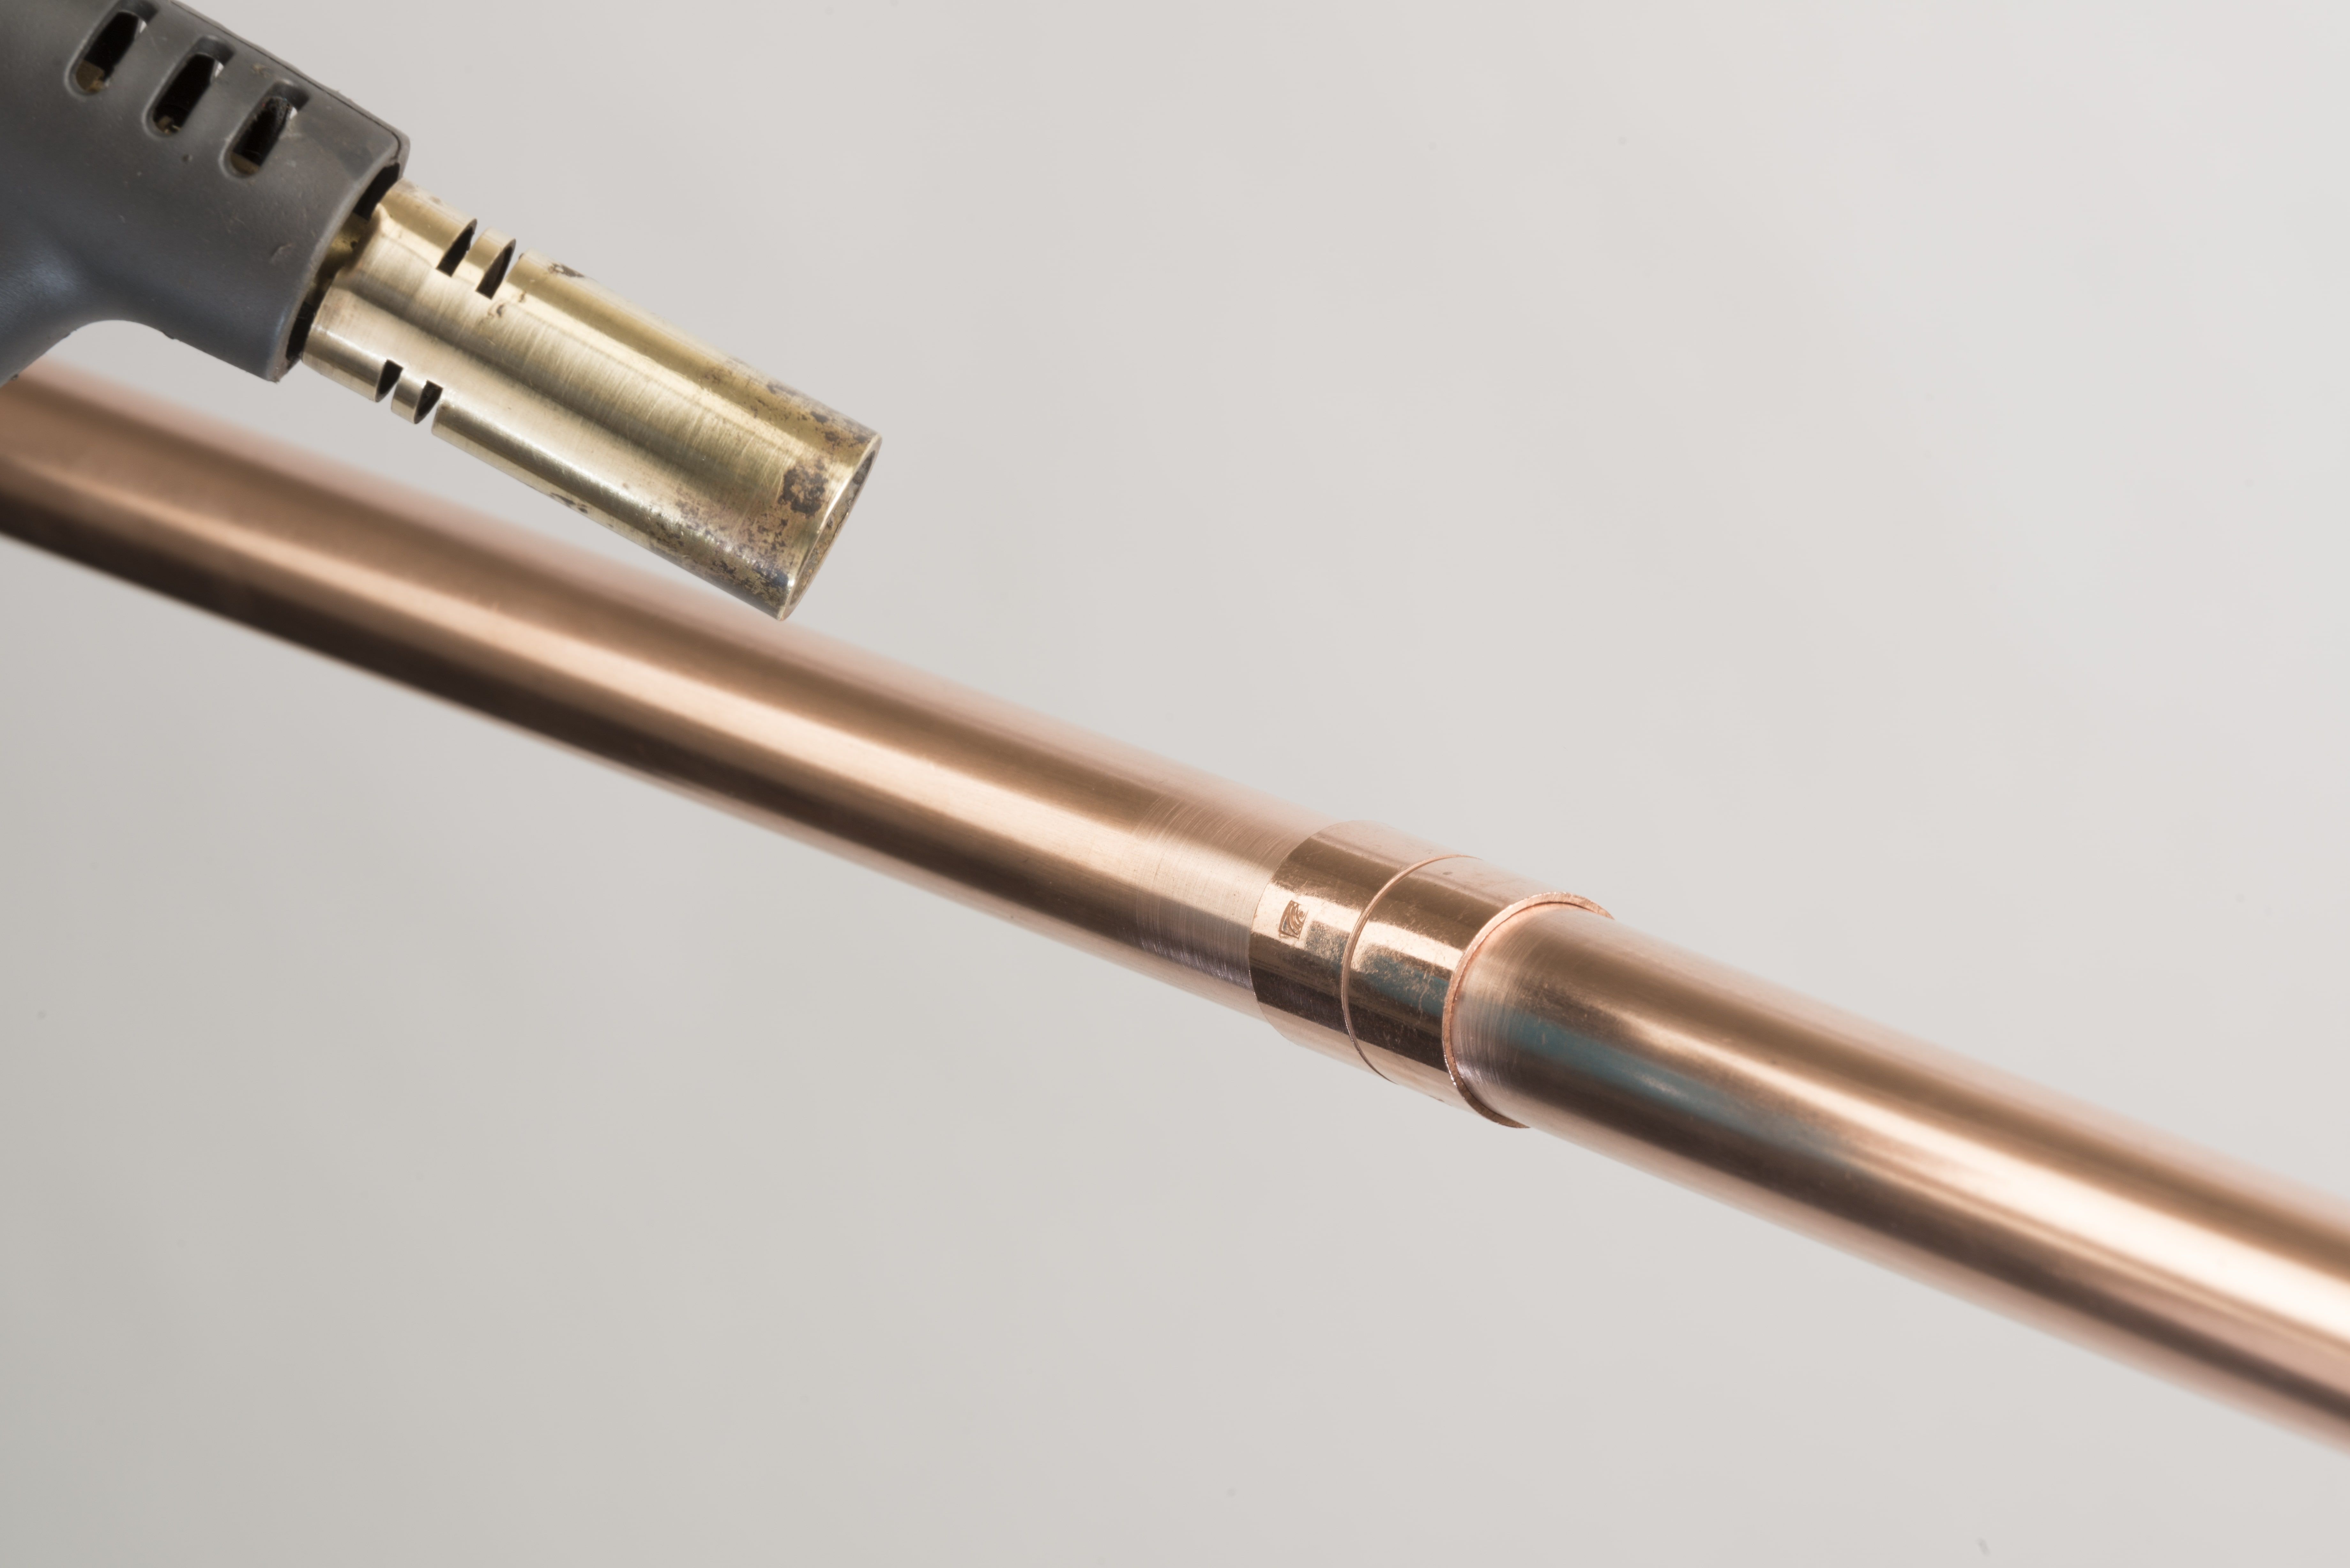
The selection of a solder depends primarily on the operating pressure and temperature of the system. Consideration should also be given to the stresses on joints caused by thermal expansion and contraction.

In the cases of a short run, or a long run with an expansion loop, the stresses caused by a temperature change are usually insignificant.

The 50:50 tin:lead solder is suitable for moderate pressures and temperatures. For higher pressures, or where greater joint strength is required, 95:5 tin:silver can be used. When operating outside of these parameters, please consult us before installation.
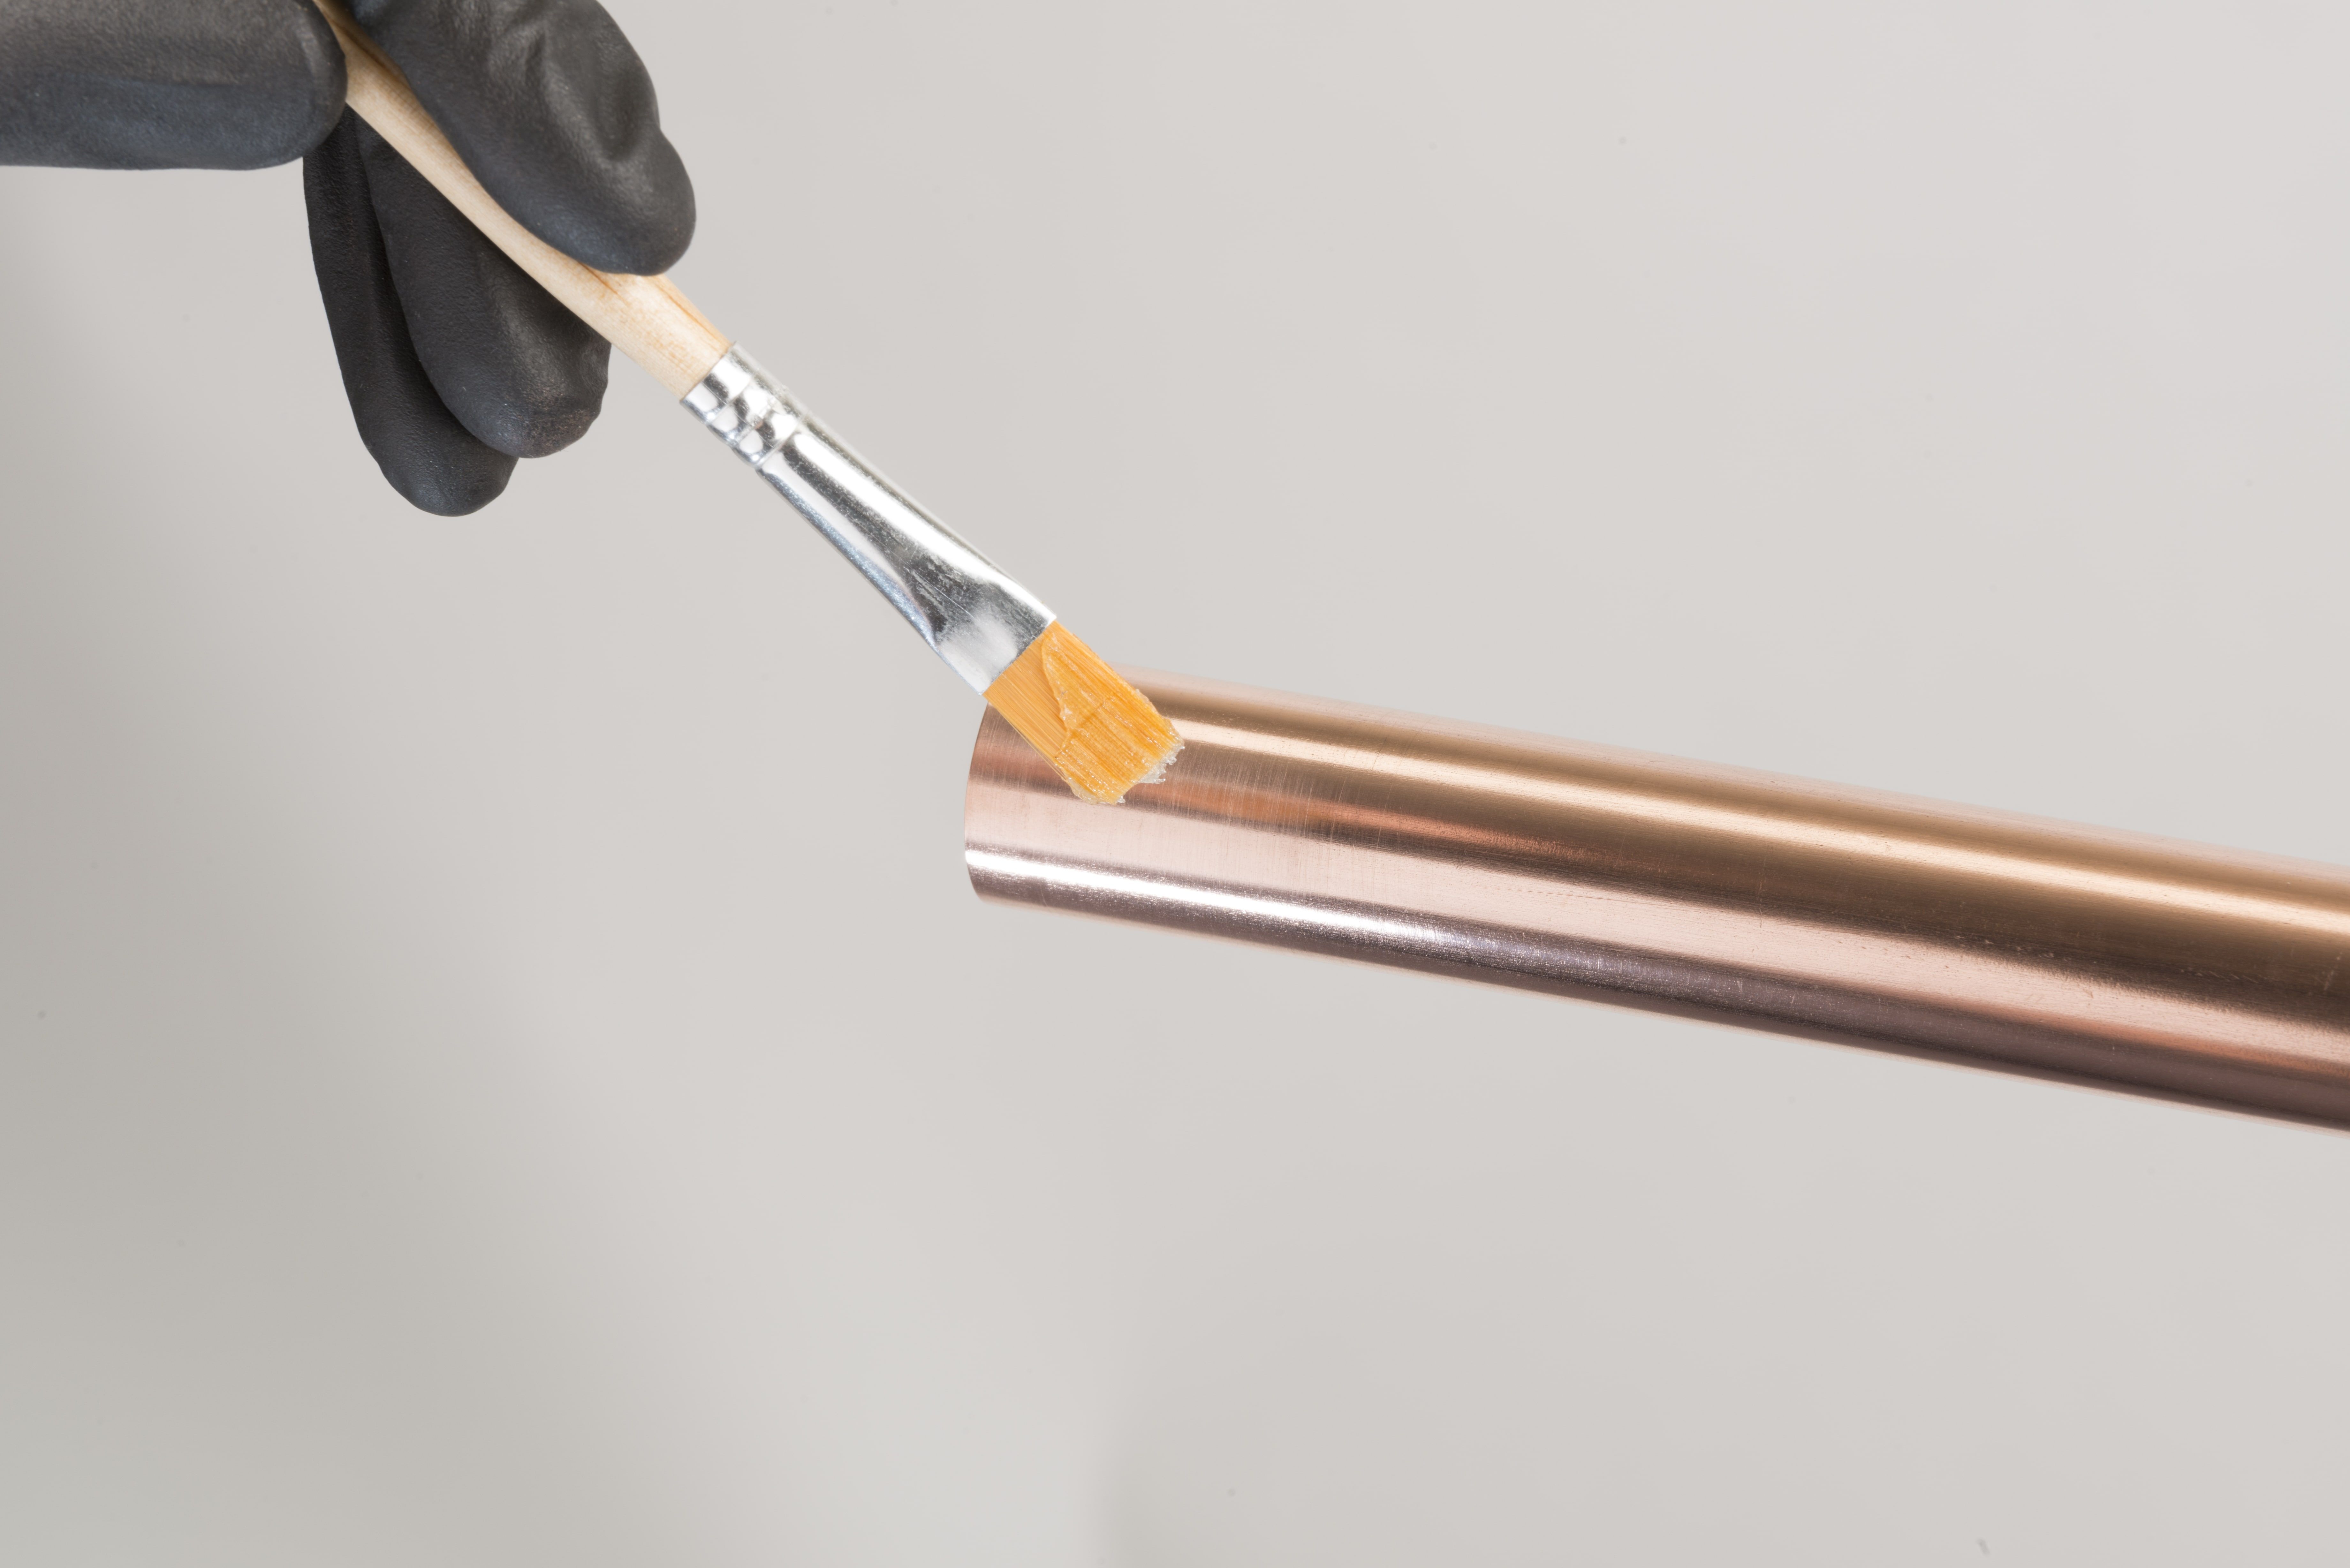
Flux

The functions of soldering flux are to protect against re-oxidation of the joint during the soldering procedure, promote wetting that allows capillary action to begin, and to assist in residual oxide removal.

Flux should only be applied to surfaces that have been cleaned using an abrasive cloth. After this, only enough flux to lightly coat the areas should be used, only in the areas where the tube and fitting will overlap. All fluxes should be used sparingly and strictly in accordance with the manufacturer's instructions. The use of excessive flux must be avoided. Some fluxes are more aggressive than others but all fluxes should be considered to be corrosive to some extent.

An oxide film may re-form quickly on copper after it has been cleaned. Therefore, the flux should be applied as quickly as possible after cleaning.

Equipment

Materials
  • Copper Pipe
  • End Feed Fittings
  • Solder or Brazing Rod
Tools
  • Flame
  • Eye Protection
  • Hand Protection

Installation

Cut Your Pipe to Size

Cut Your Pipe to Size

Cut your pipe cleanly across the tube diameter using a good quality pipe cutter or rotary pipe cutter.

It is important to ensure that the pipe ends are clean and cut square. Failure to do so could impact on the quality of your jointing. If your cut is not flat, or your pipe is too short, the pipe may not hit the pipe stop compromising the joint integrity. Too long and you may introduce strain into the whole system.

Clean The Socket of the Pipe

Clean The Socket of the Pipe

Using your deburring tool, make sure the inside of the pipe is smooth and will not interfere with the flow.

Take care to ensure the tube is not deformed by applying too much pressure. If you need to be more delicate, use of a stiff wire brush is recommended to reach the desired outcome.

Clean The Outside of the Pipe

Clean The Outside of the Pipe

Clean the outside of the pipe, making sure that there is no pipe residue, dirt or grit is present near the joint. Failure to remove all oxides and any material where the fittings and tube overlap can interfere with the capillary action and thus will reduce the strength of the soldered joint, resulting in failure.

To the same effect, over zealous cleaning can result in too much material being removed, resulting in a loose fit and failure.

It is important that the outside of the pipe is clean and free from debris. Use of fine steel wool is recommended here to reach the desired outcome.

Apply Flux

Apply Flux

As soon as possible after cleaning, flux should be applied sparingly to the inside of the fitting and also the outside of the pipe at the point of overlap. This will help the capillary action and induce a stronger joint.

Assemble

Assemble

Insert the tube into the fitting until the pipe reaches the base of the pipe stop. A small twist can also be applied to ensure even coverage of the flux. At this point, excess flux should be wiped away using a rag.

Before proceeding to the next step, a uniform space around the circumference of the joint should be sought to allow for good capillary action. Excessive space can lead to cracking of the solder.

Heating

Heating

When heating, the entire circumference of the fitting should be heated evenly. It is recommended that you preheat the pipe and the fitting before applying direct heat.

Do not overheat the joint or direct the flame into the face of the fitting cup. Overheating could burn the flux, which will compromise its effectiveness and the solder will not enter the joint properly.

Apply Solder

Apply Solder

Touch the joint with the solder. If the solder does not melt, take it away and continue heating. If the solder begins to melt, push the solder into the joint whilst continuing to heat the base of the joint.

Solder joints depend on capillary action to draw the free-flowing solder into the narrow clearance between the tube and the fitting. Molten solder metal is drawn into the joint due to the capillary action, regardless of whether the flow is upwards, downwards or horizontal.

Cooling and Cleaning

Cooling and Cleaning

You should allow the joint to cool naturally. Cooling the joint forcefully could stress the joint.

When cool, remove any excess flux and residue with a wet rag.

Large End Feed Fittings (67mm to 159mm)

Large End Feed Fittings (67mm to 159mm)

Larger fittings require brazing instead of soldering. Brazing requires the same steps as above, but Brazing Rod must be used instead of Solder. Typically the Fitting will need to be heating to a much higher temperature also.

Testing

We recommend that all systems are throughly tested upon completion. Whenever possible, completed systems should also be flushed to remove debris.

Hydraulic Installations

In hydraulic based installations, the system may be tested to 1.5 times the working pressure of the system. If higher test pressures are required, then please contact us for further advice.

Any Questions?

Our team is available for you anytime.