Support Article
How To Fix a Leak in a Copper Pipe
Burst pipes, leaks or pinhole leaks can be an expensive problem and the time spend fixing it expensive also, for the plumber and the homeowner.
How do they come about?
Leaks can be caused by a few things;
How do i fix it?
Traditionally, you could do two things:
What is the Click Fix?
The Click Fix is our pre-soldered copper repair patch, made for 15mm and 22mm Copper Pipe. It's simple to install; 'click on' and heat. There is no pipe cutting required, saving you loads of time, but also making it particularly ideal when repairing a copper pipe in an awkward place.
You can see more about the product here.
How do I use the Click Fix?
The Click Fix is simple to install;
-
Isolate the leak
First off you will need to turn the water off to the area of your house where the leak exists.
-
Clean the pipe
Then gently sand the outside of the pipe using light grade sandpaper, for a short period. Enough to make the pipe shiny.
It's important to note that if the pipe is particularly ruptured, you will need to use a file to return the pipe to a cylindrical shape. You can test the shape is ok by 'clicking' the Click Fix onto the pipe a few times. If the 'click' isn't satisfying enough, then you'll likely need to do a bit more rework.
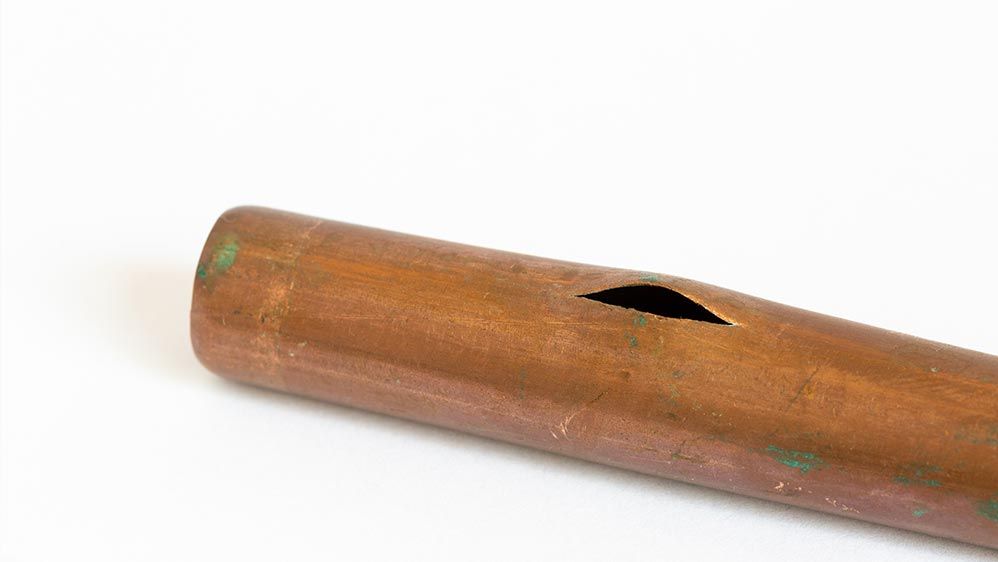
This is an example of a pipe that needs a bit more work -
Clean the inside of the Click Fix
Do the same for the fitting that you have just done for the pipe. Gently sand until shiny.
-
Apply Flux and 'click' on
Now you can apply Flux to the Click Fix. It is easier to cover the fitting rather than the pipe, so you know the whole area is covered. Then simply 'click' the Click Fix onto the pipe.
-
Heat it!
Now, all you need to do is apply heat. Generally, this is done with a blowtorch as this will generate enough heat to melt the solder.
When you start to see the Solder bubbling around the edges of the copper repair patch.
-
Let it cool down and wipe off any excess flux
Let the joint cool down naturally, cooling the joint forcefully can cause stress. Then when cool, remove any excess flux and residue with a wet rag.
-
Congrats! You're done
Is that it?
Yep. That's it. That's all you need for watertight seal.
You might also be interested to know that we've tested the Click Fix up to 50bar, so really, you can pat yourself on the back, take a seat now and relax.